
Installing
Simple Sockets
Watch the video for a
simple explanation
Or check the steps bellow
Get a Simple Socket
See all the stats
Step 1
Make sure you have a way to connect to electricity. Use our Simple Plug, our Simple Pendant or any of your own wires. Connect the wires to the ceramic part. Since it's A/C, it doesn't matter which goes where. Just make sure to attach them properly.
Show me the Simple Plug
Show me the Simple Pendant
Step 2
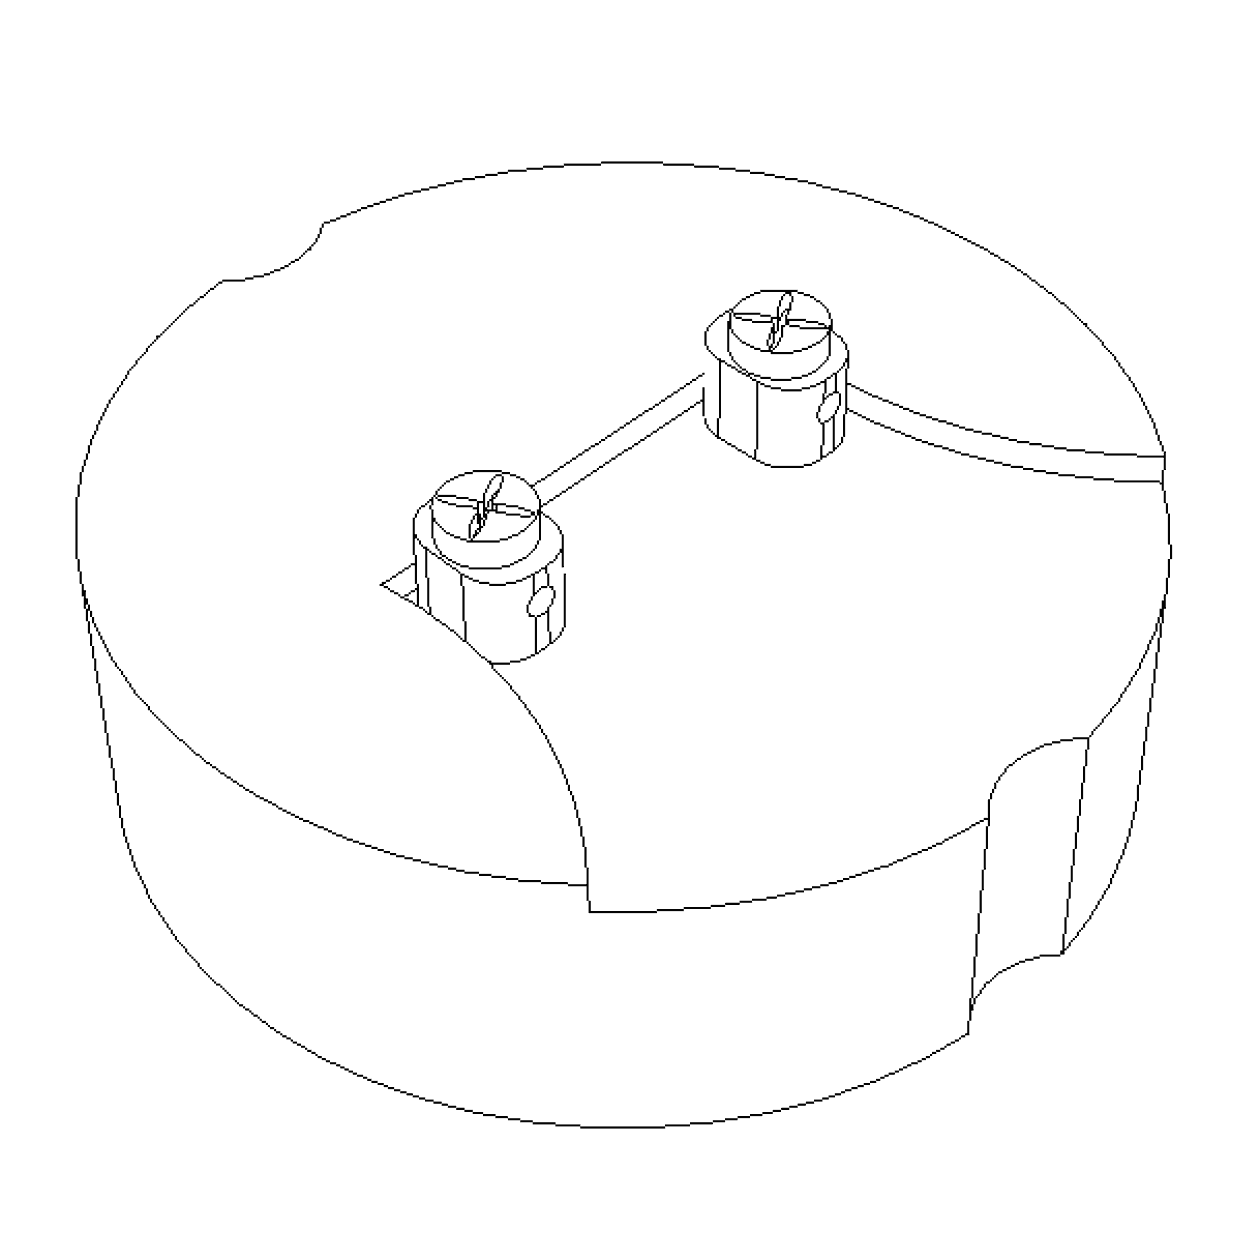
Place the ceramic, with the wires connected, in the base. Put the lid and twist using a coin in the direction indicated.
Let's see again the video

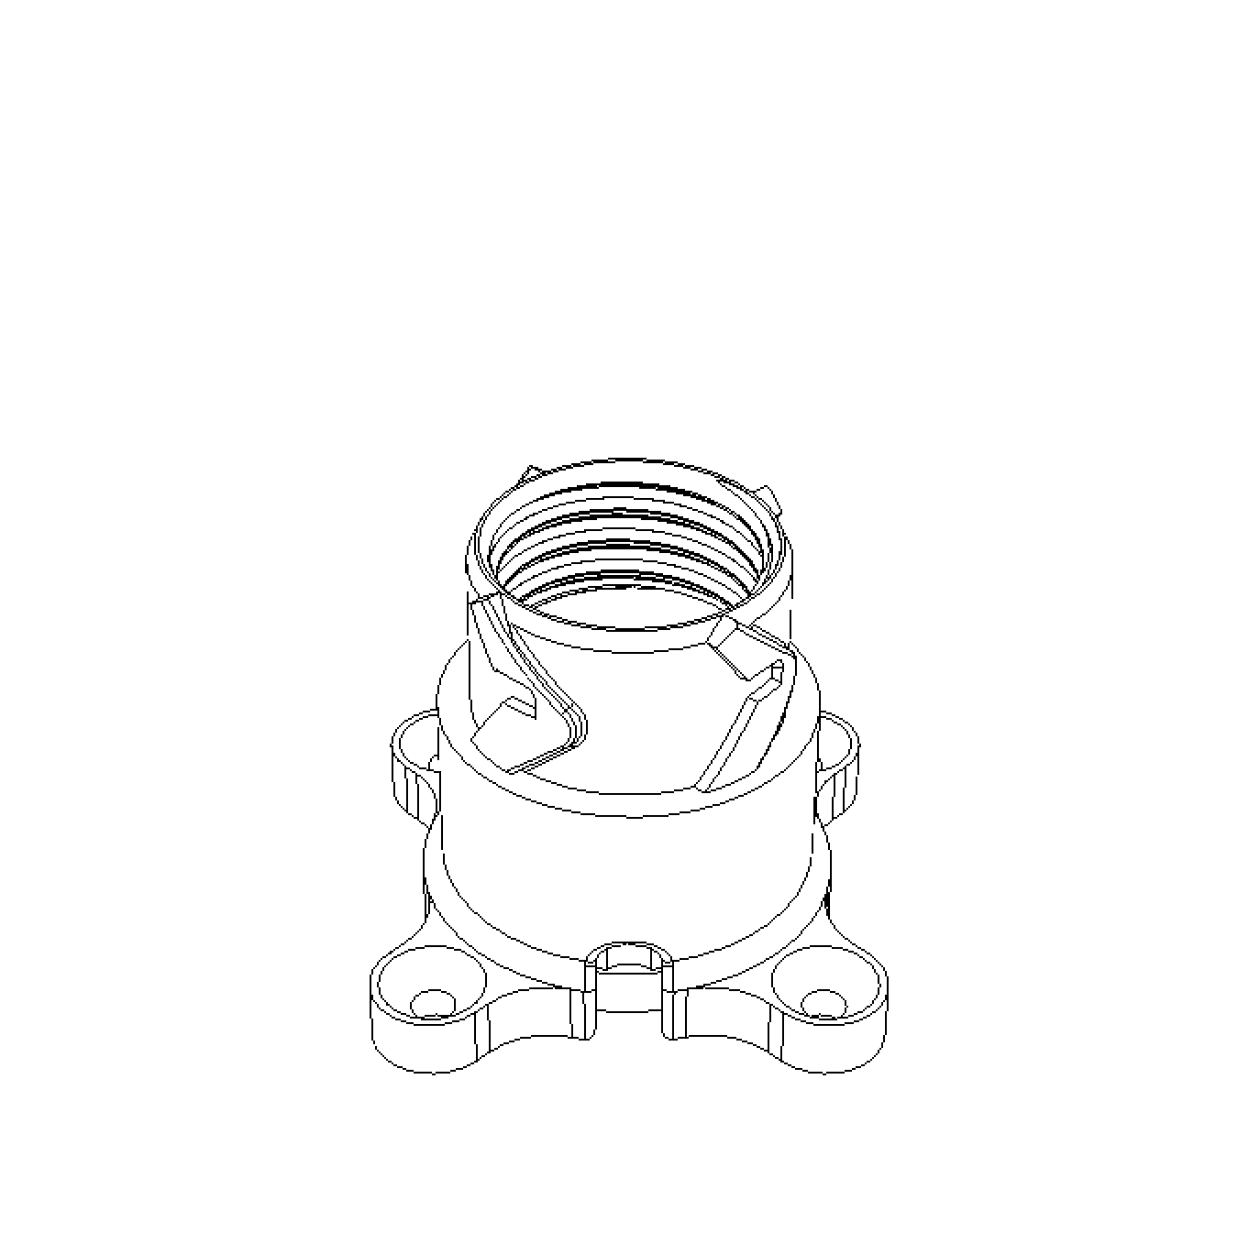
Step 3
Attach the cover.
Just place it on top and twist in the direction of the big "arrows" on the Base. Counter clock-wise.
I want more options


I don't have yet a Simple Socket
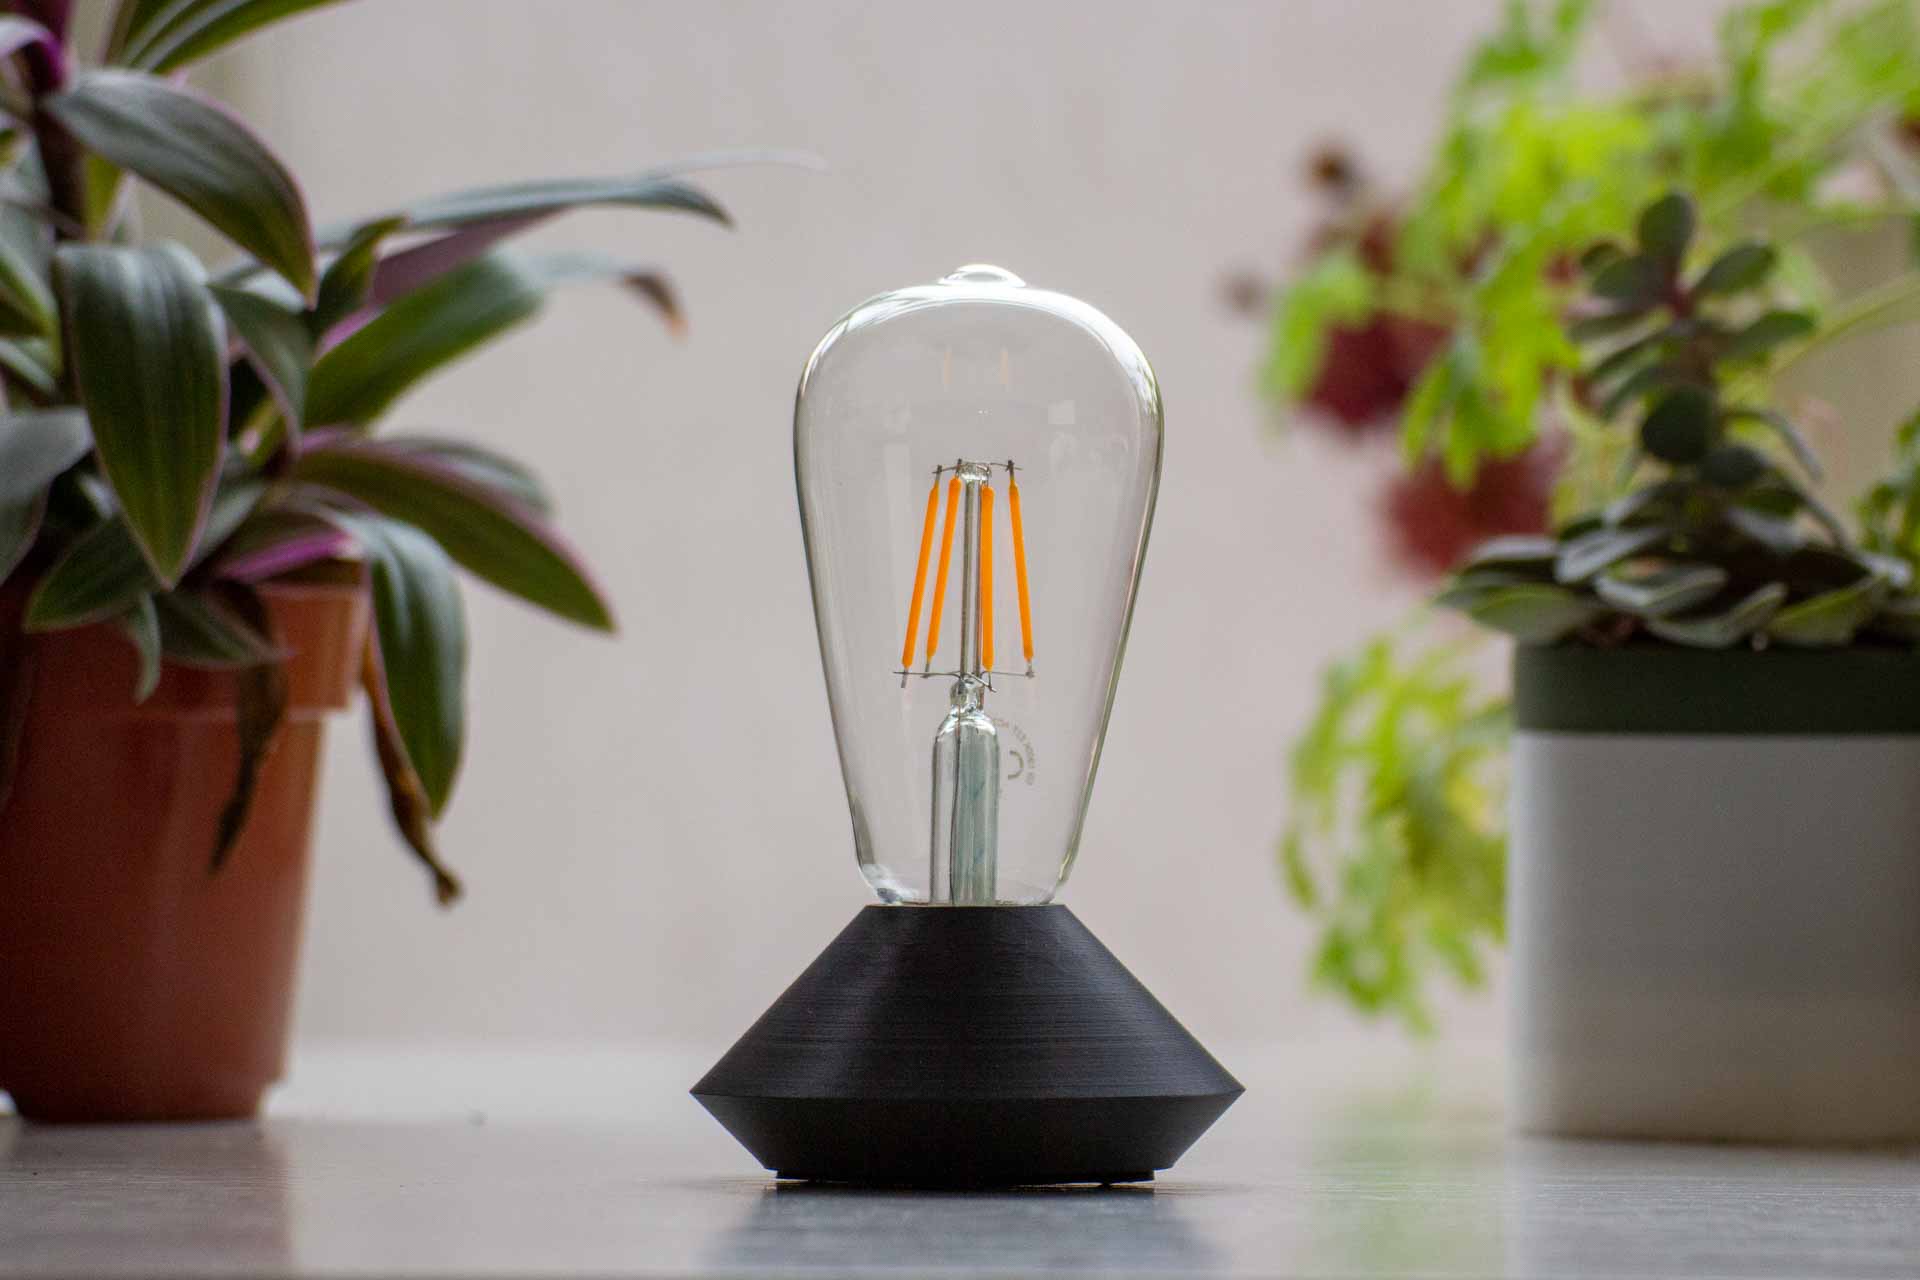
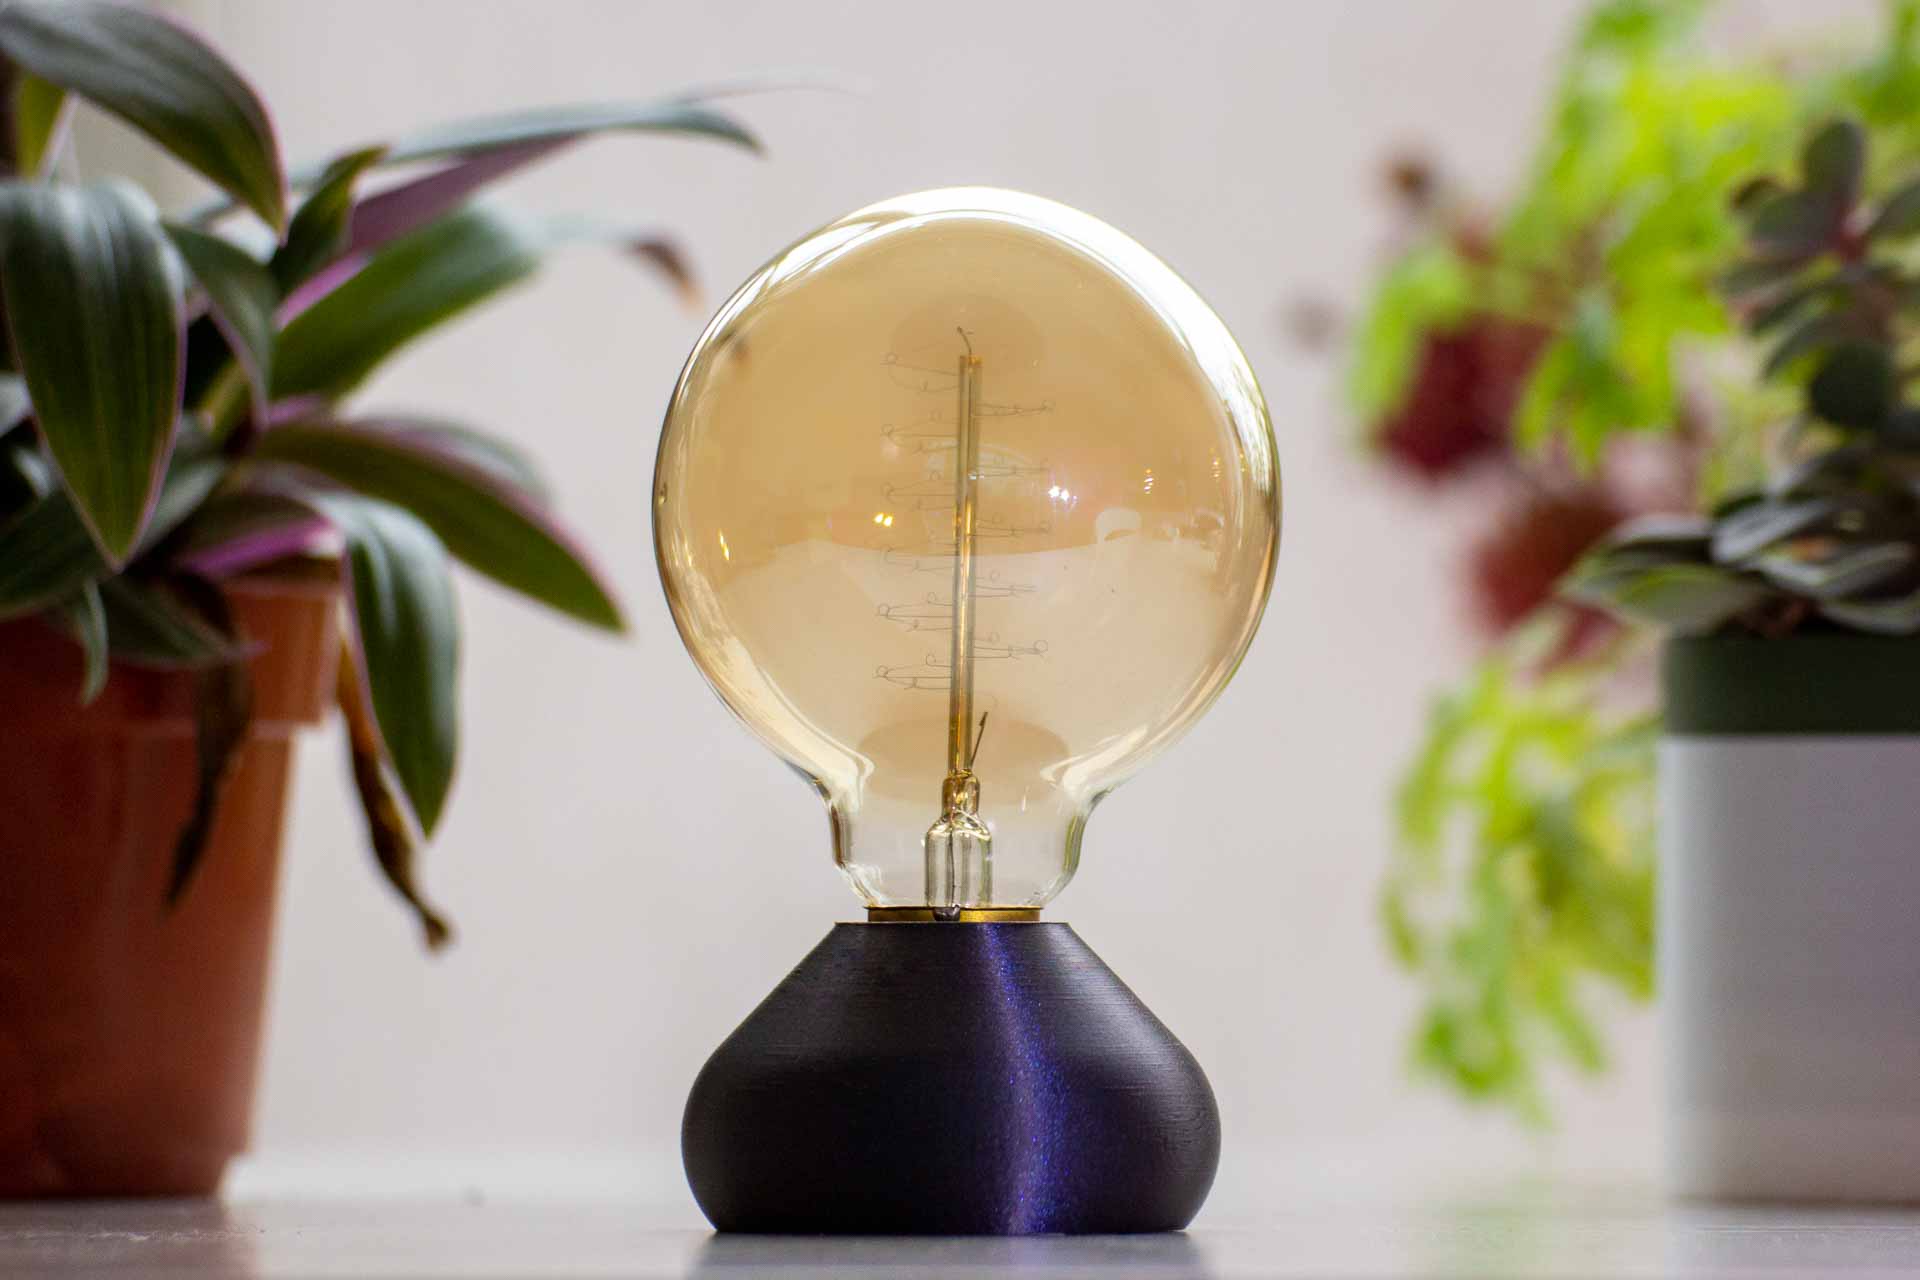
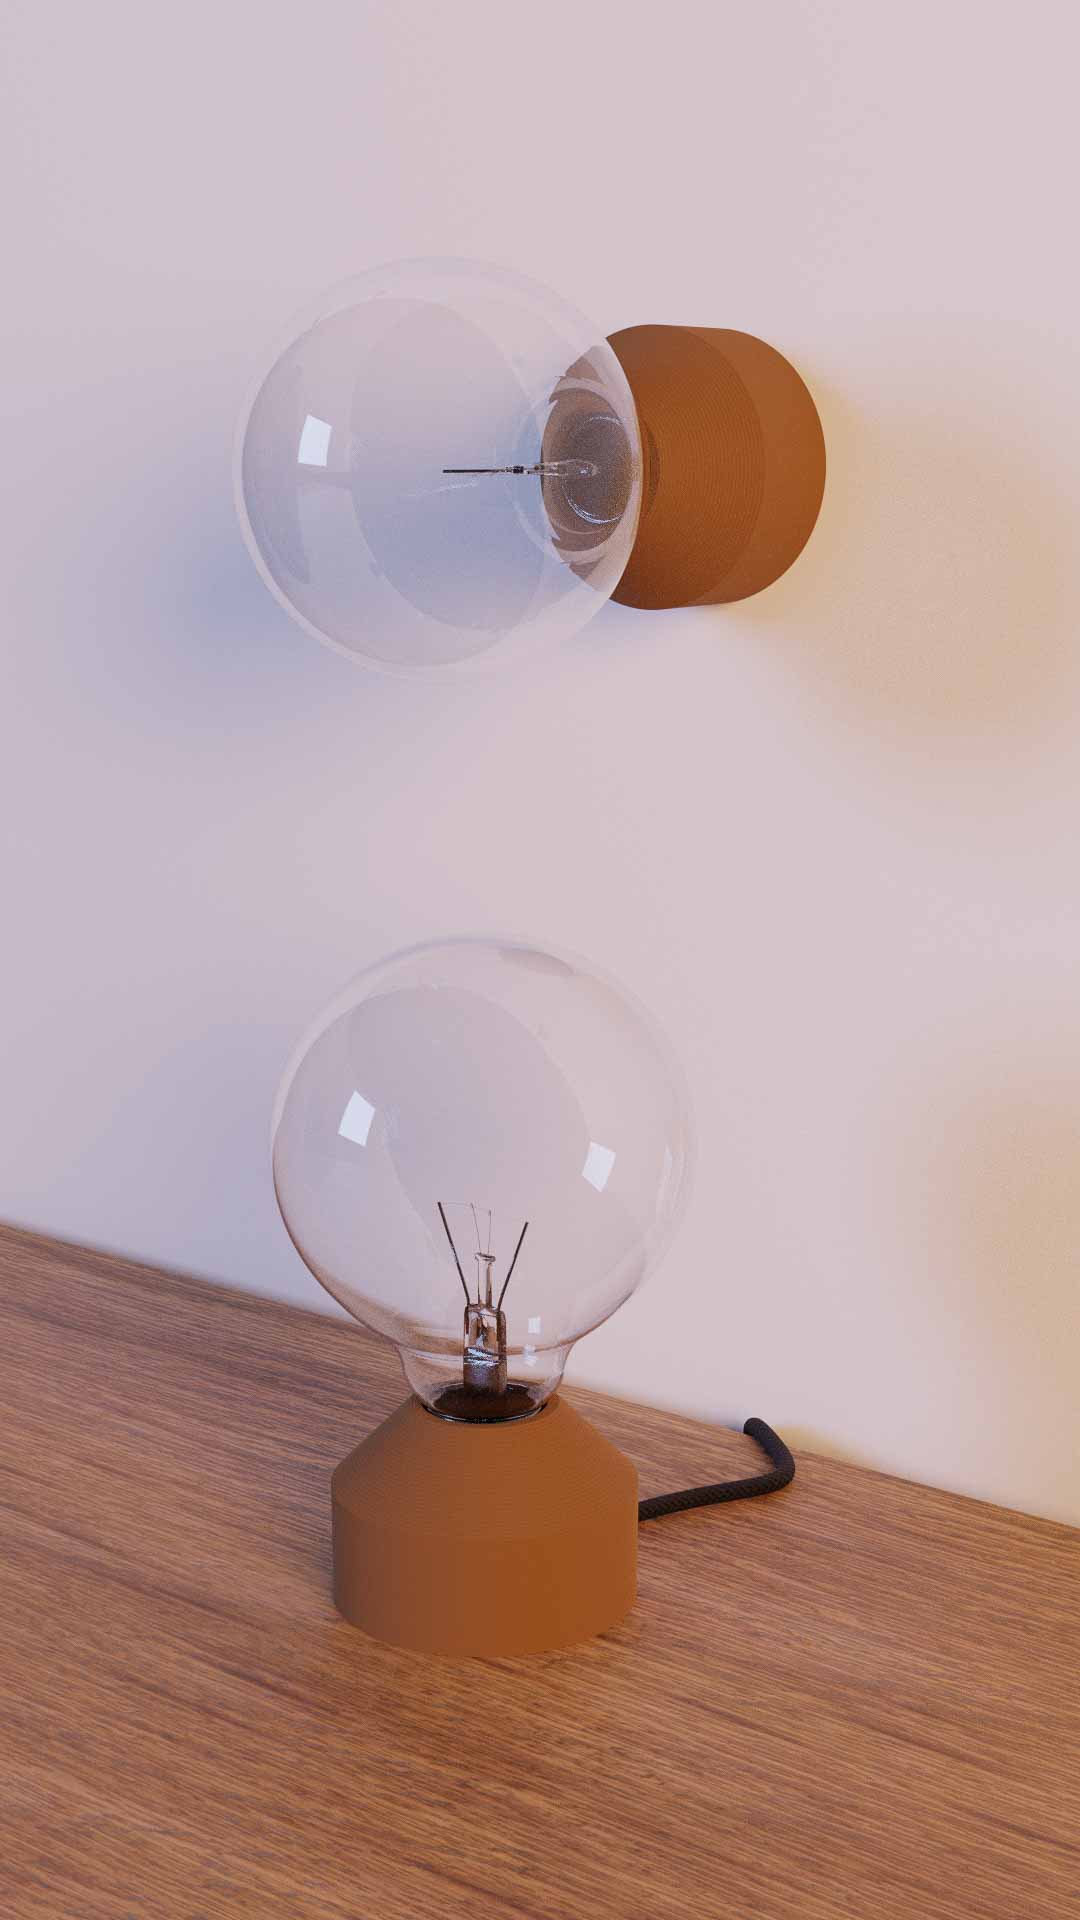
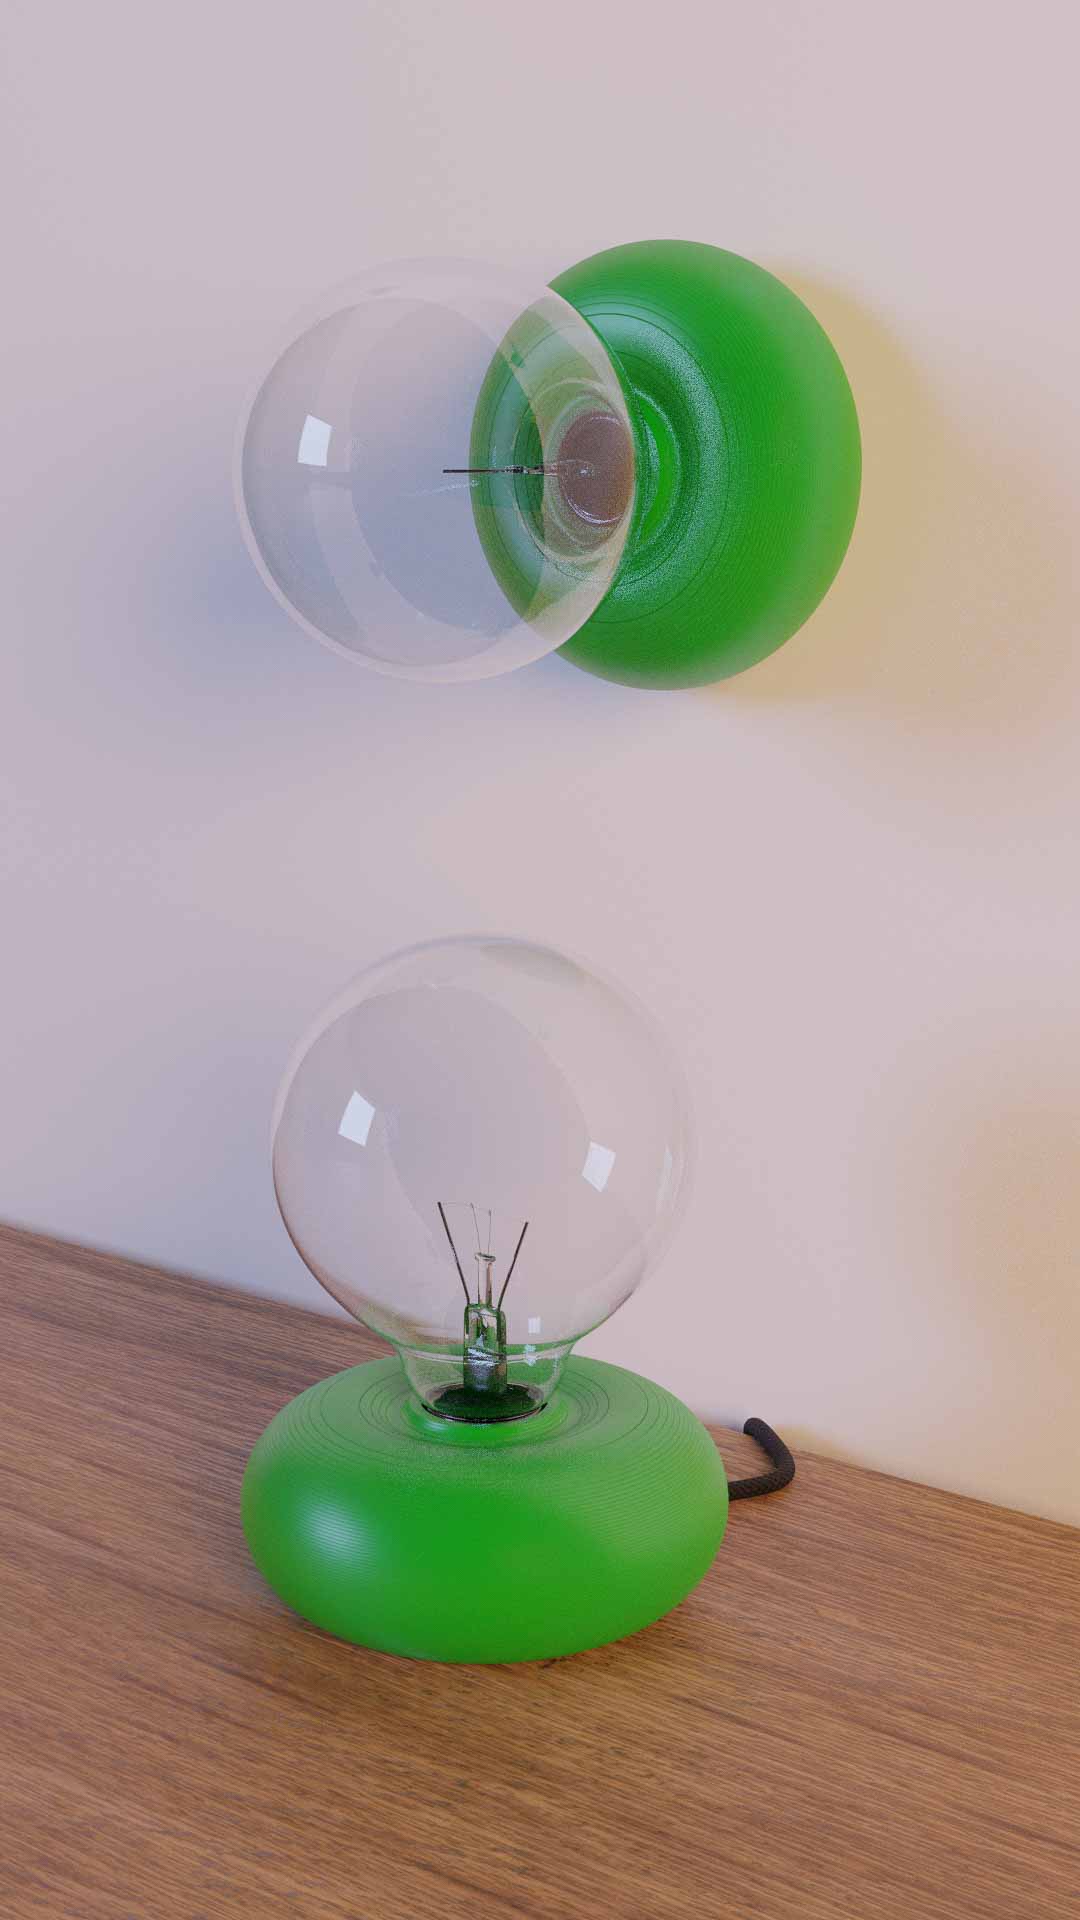
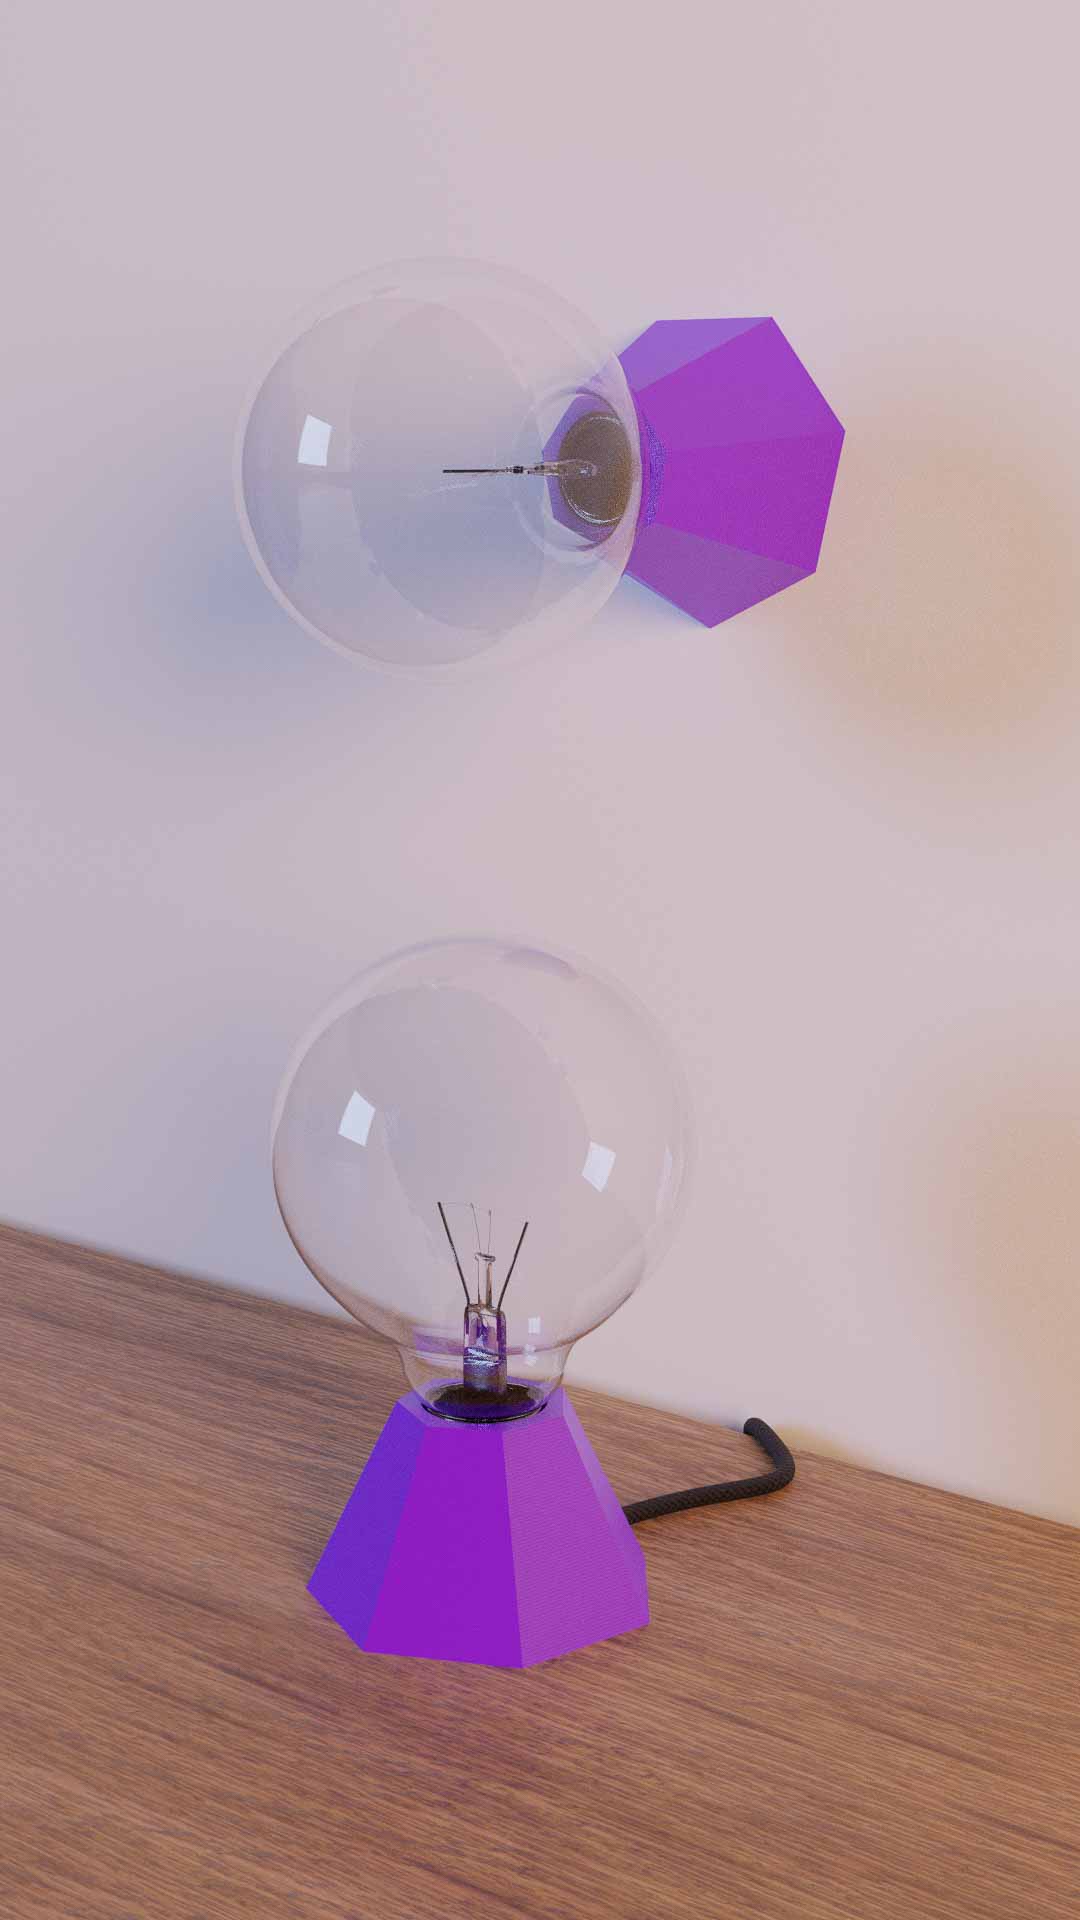
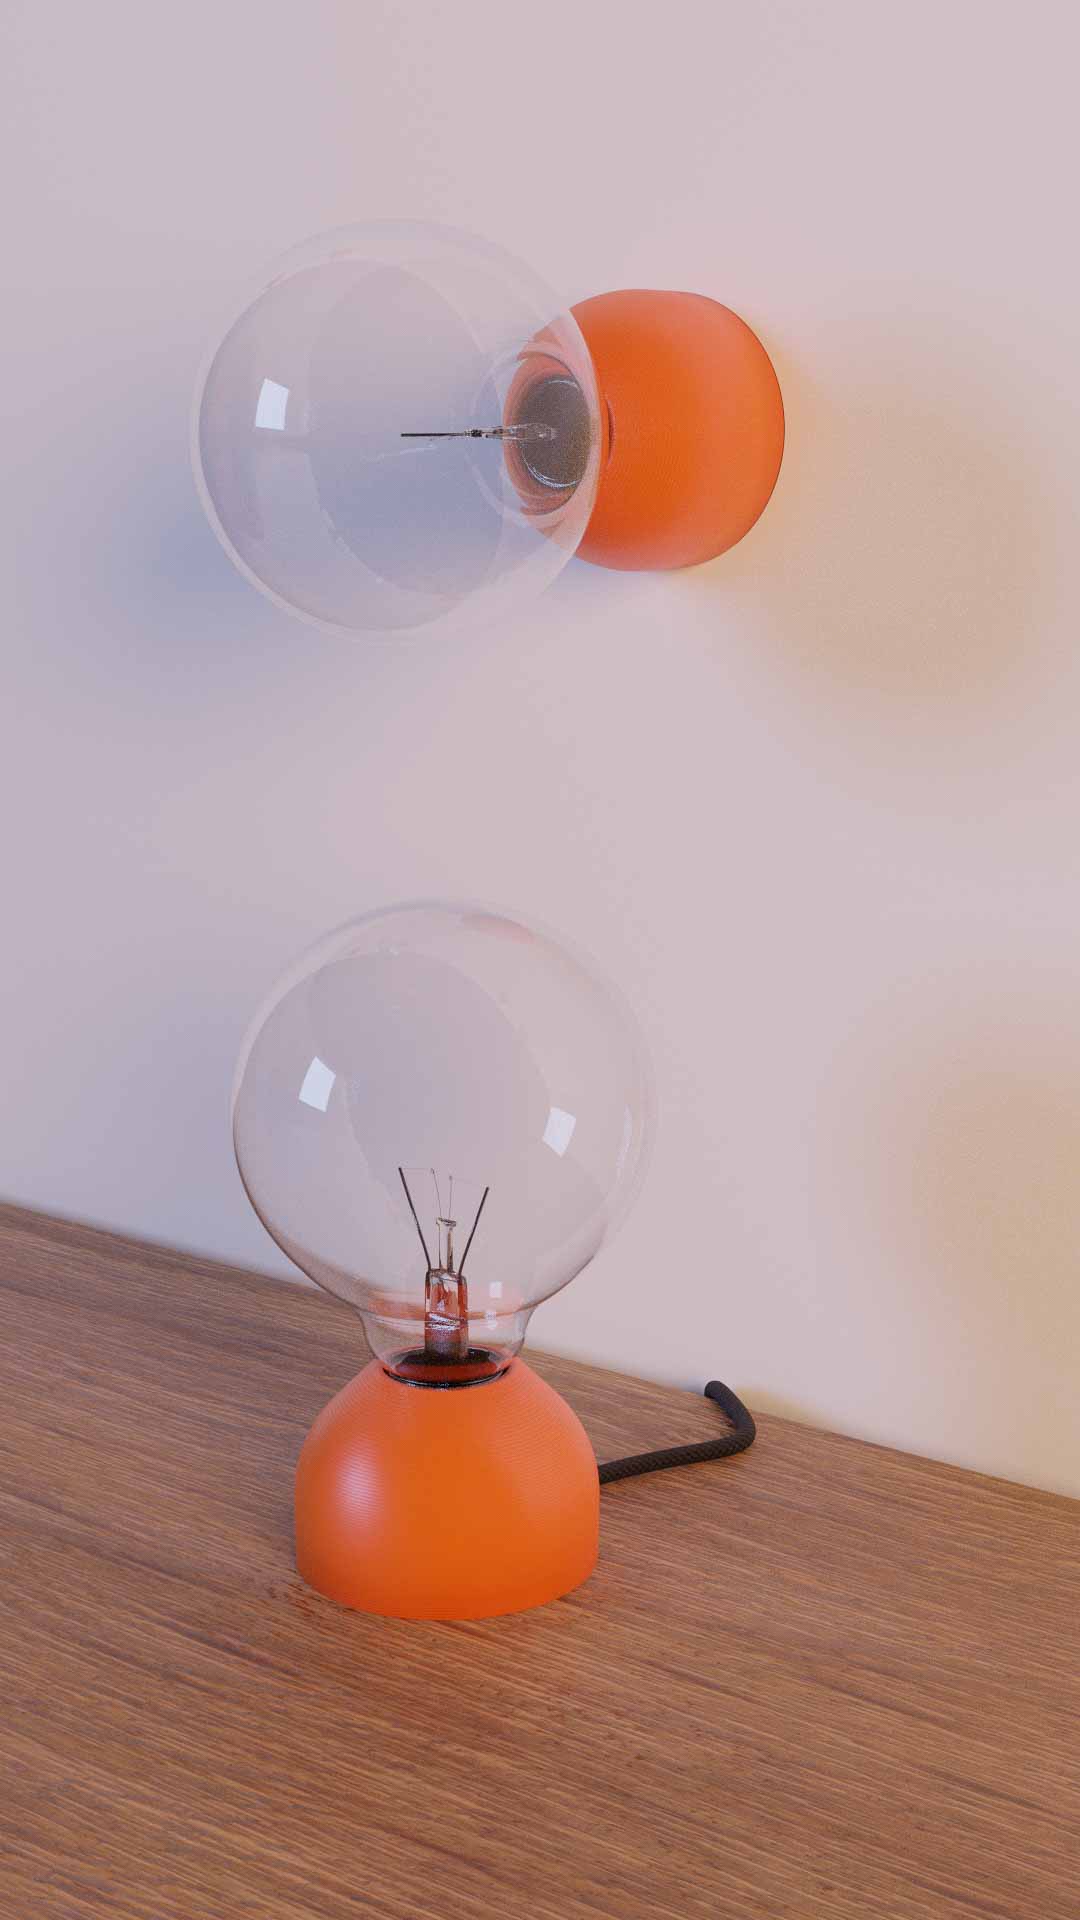
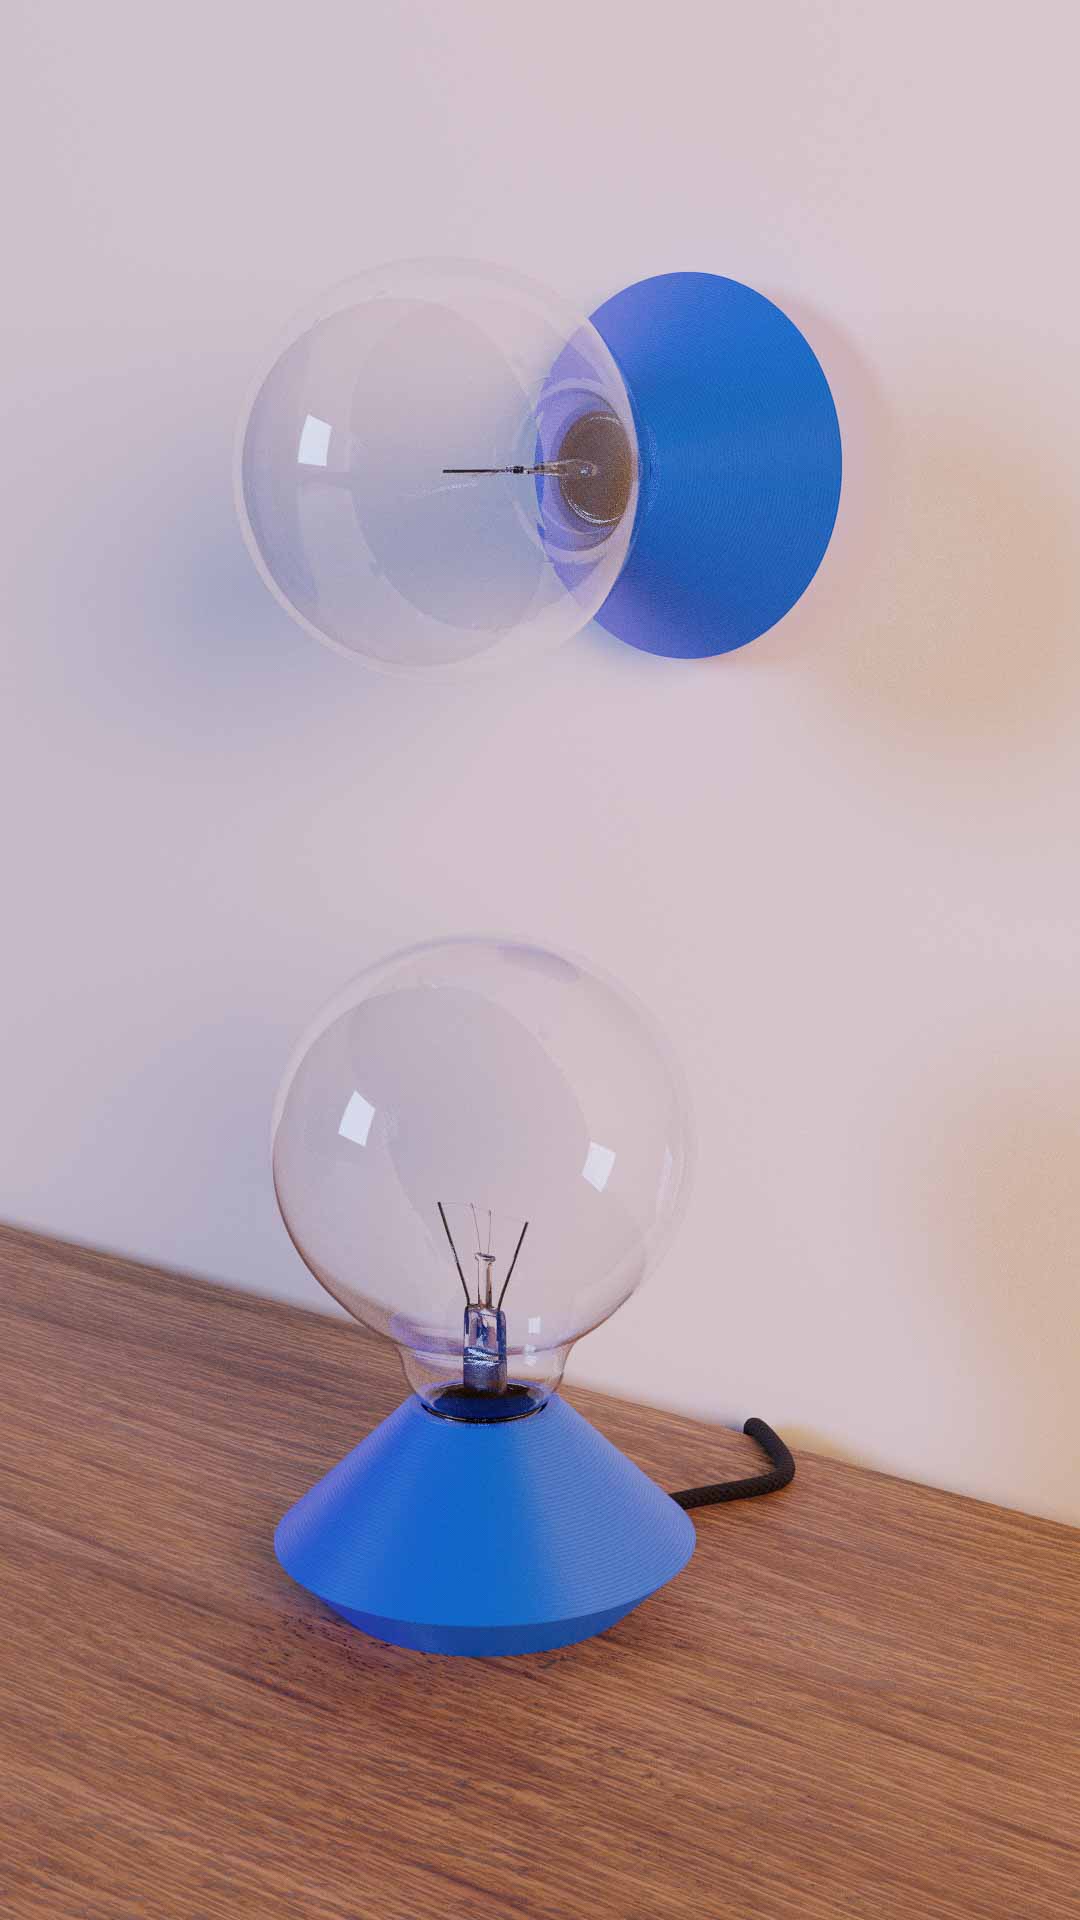
Use it solo
You can add our Simple Plug and instantly make it a table lamp. Then connect it to the wall and you have a wall lamp.
Add a Black Simple Plug to cart
Add a White Simple Plug to cart
Check the Simple Plug
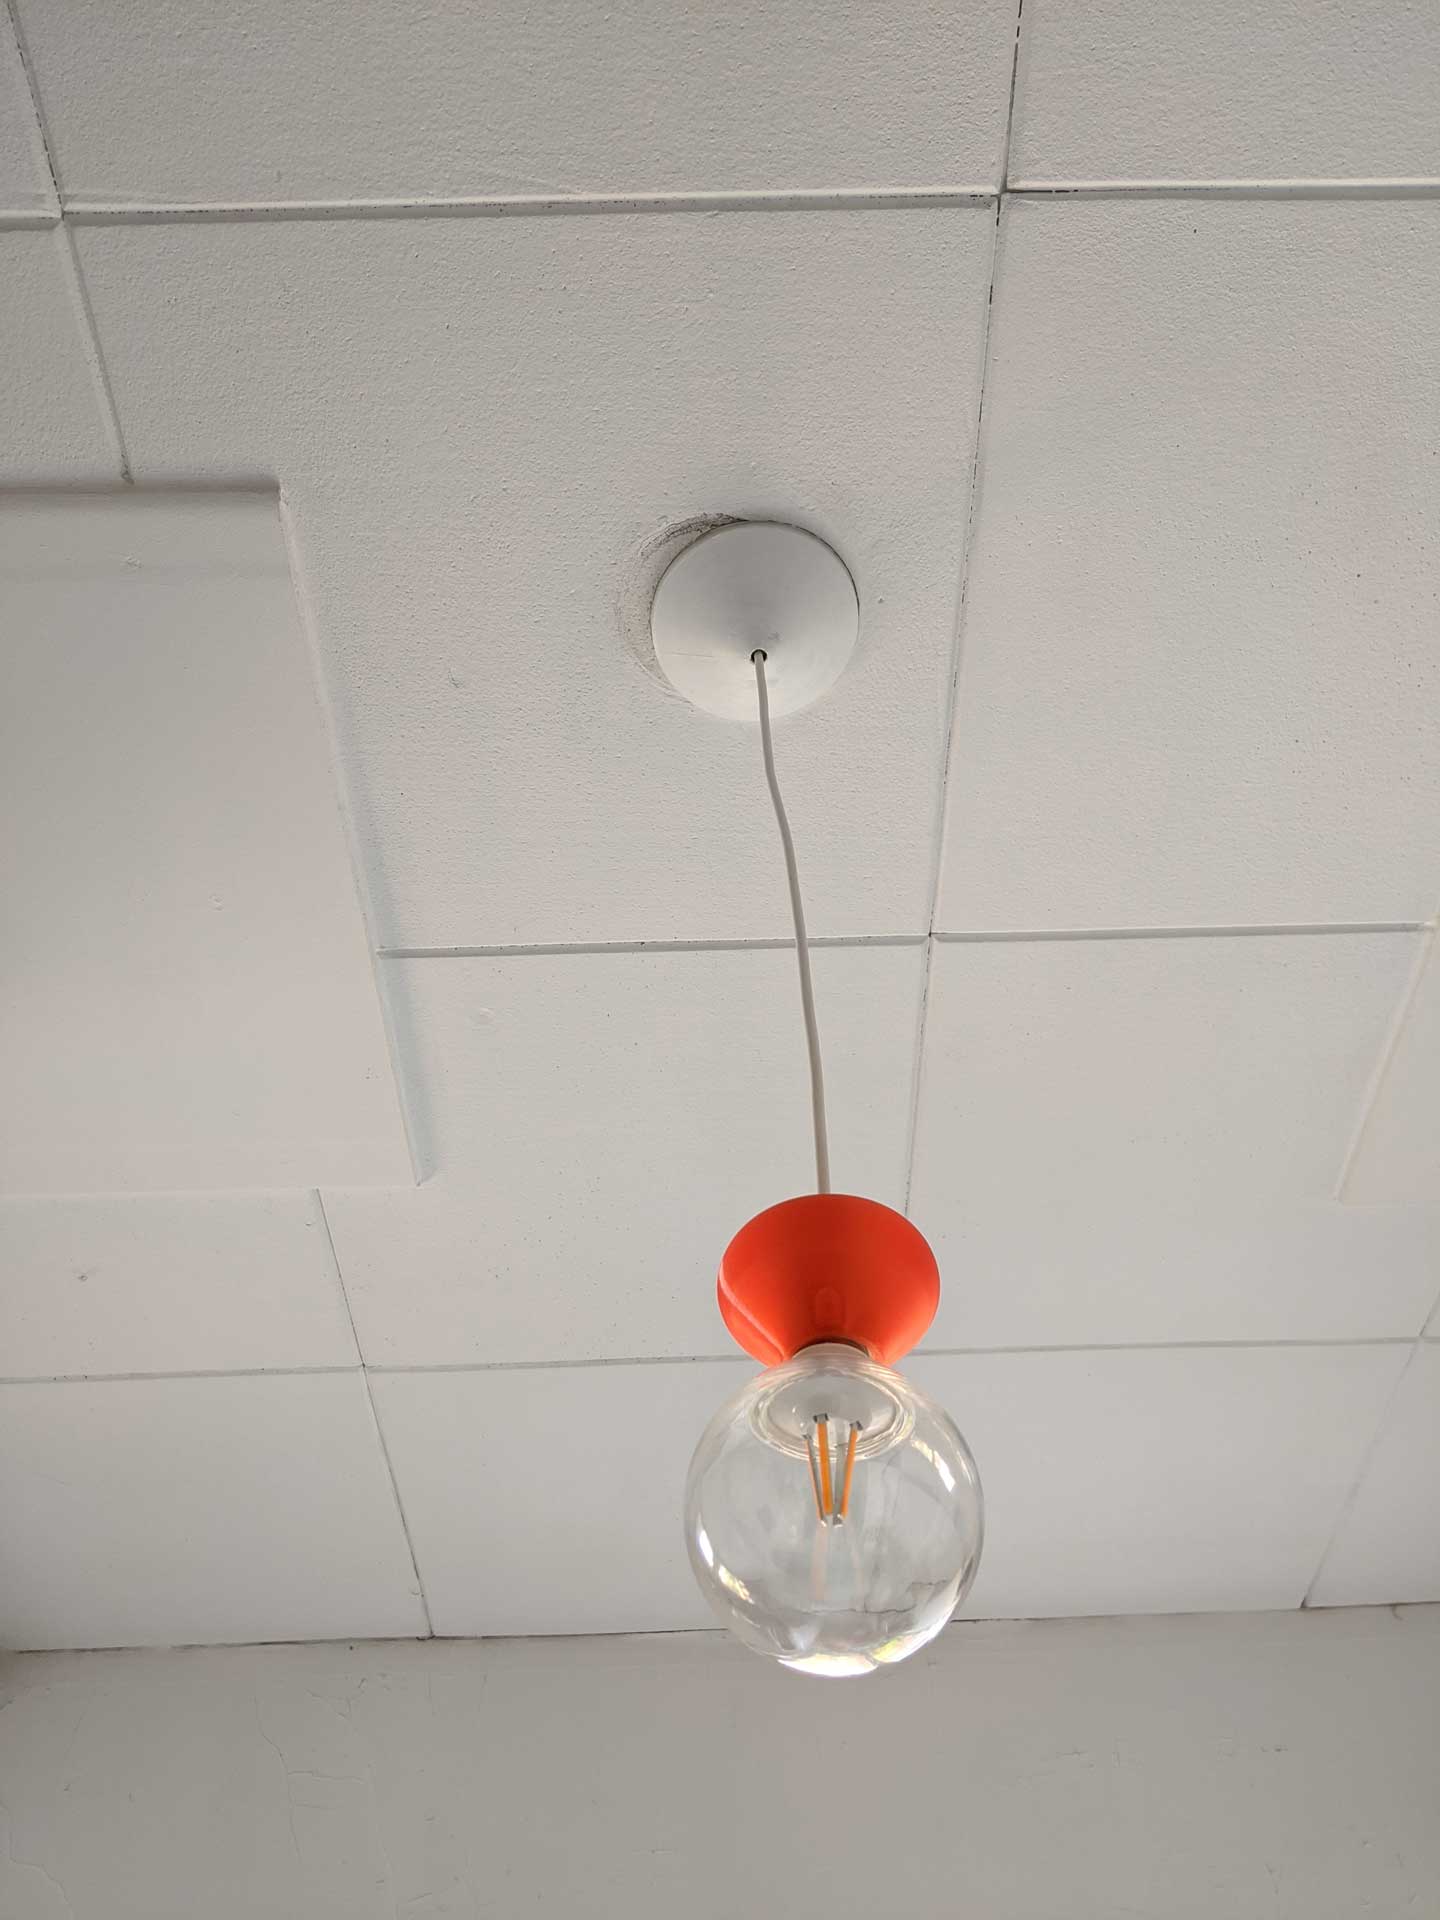
If you want it on the ceiling, add the long version of our Simple Plug or the Simple Pendant to bring it closer to you.
Check the Simple Pendants
Alternatively, you can connect your own cables, just make sure to check the specs and check our instructions anyways!


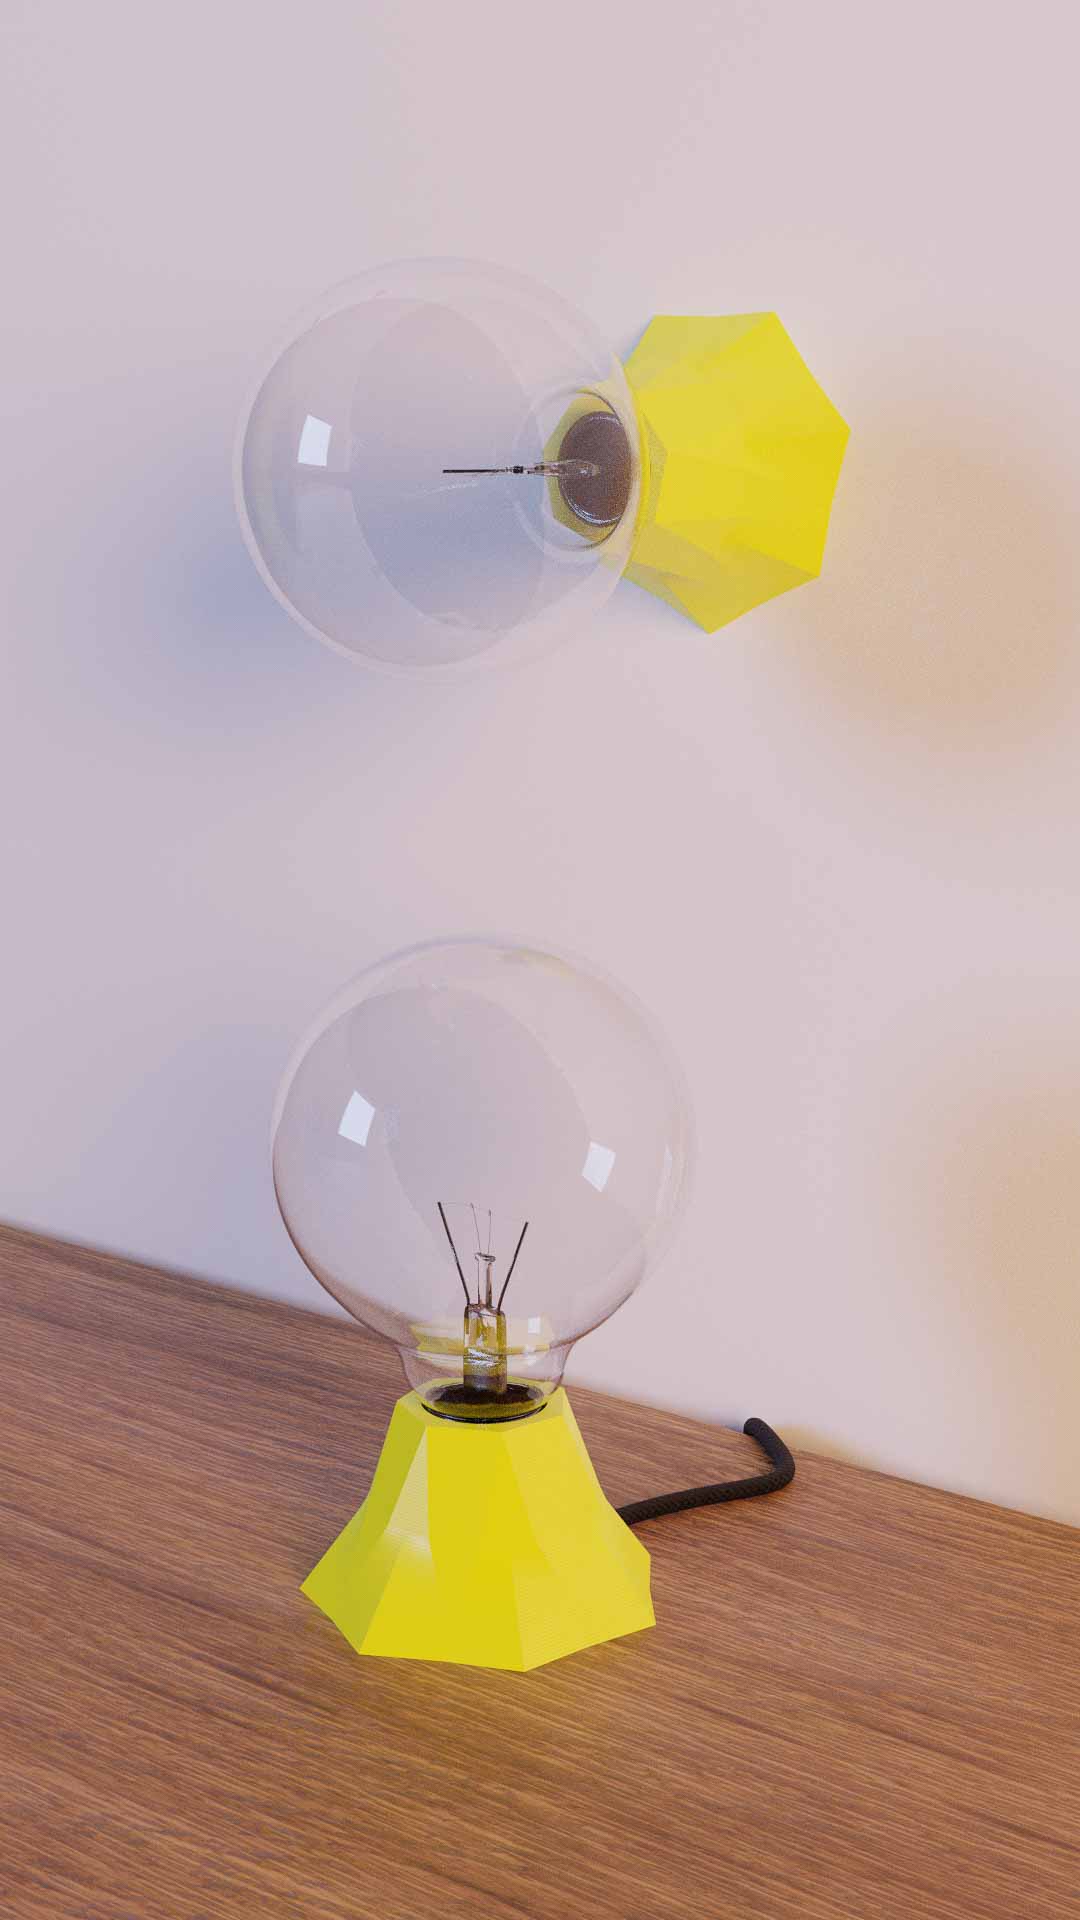
Simple Sockets can be used as the following
- Table lamp (you can use the Simple Plug)
- Wall lamp (you can use the Simple Plug)
- Ceiling lamp (you can use the Simple Plug)
- Pendant lamp (you can use the Simple Plug or the Simple Pendant)
The basic package includes
- Base (Black or White)
- Ceramic piece for wiring
- Base lid (Black or White)
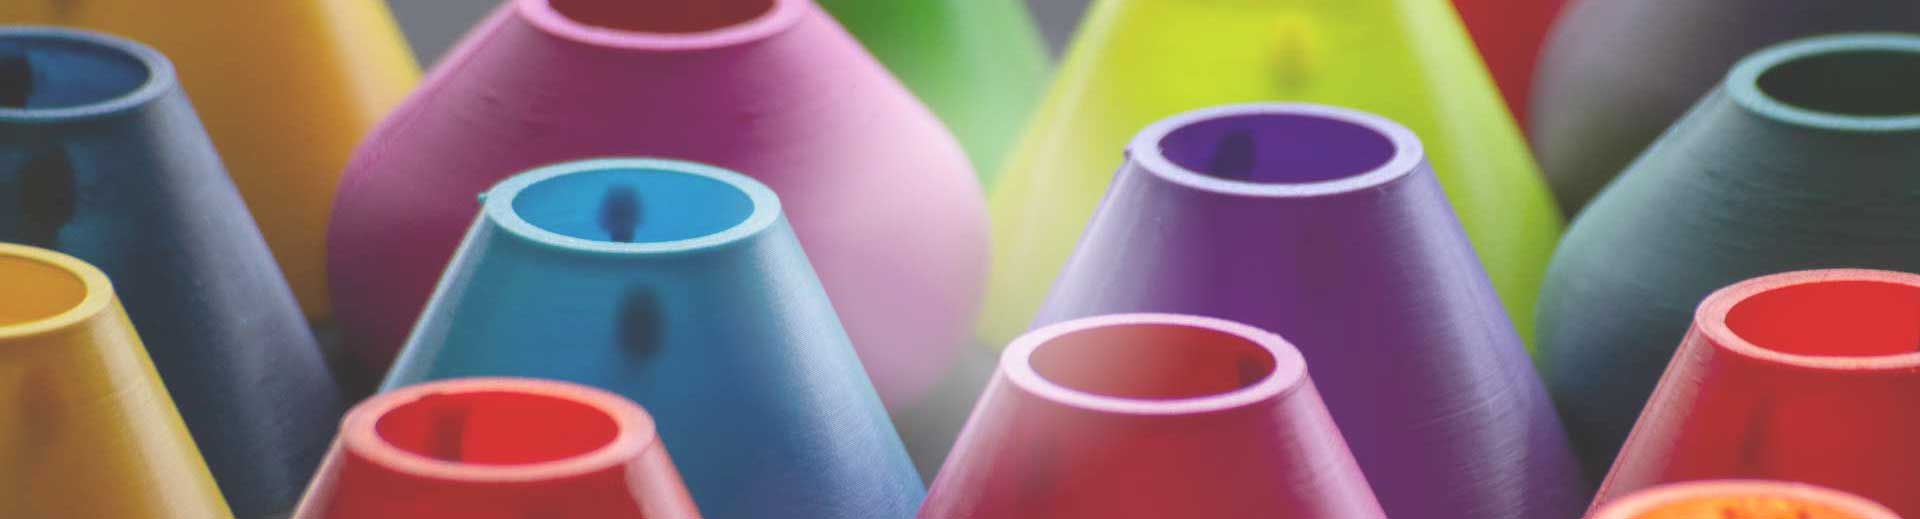
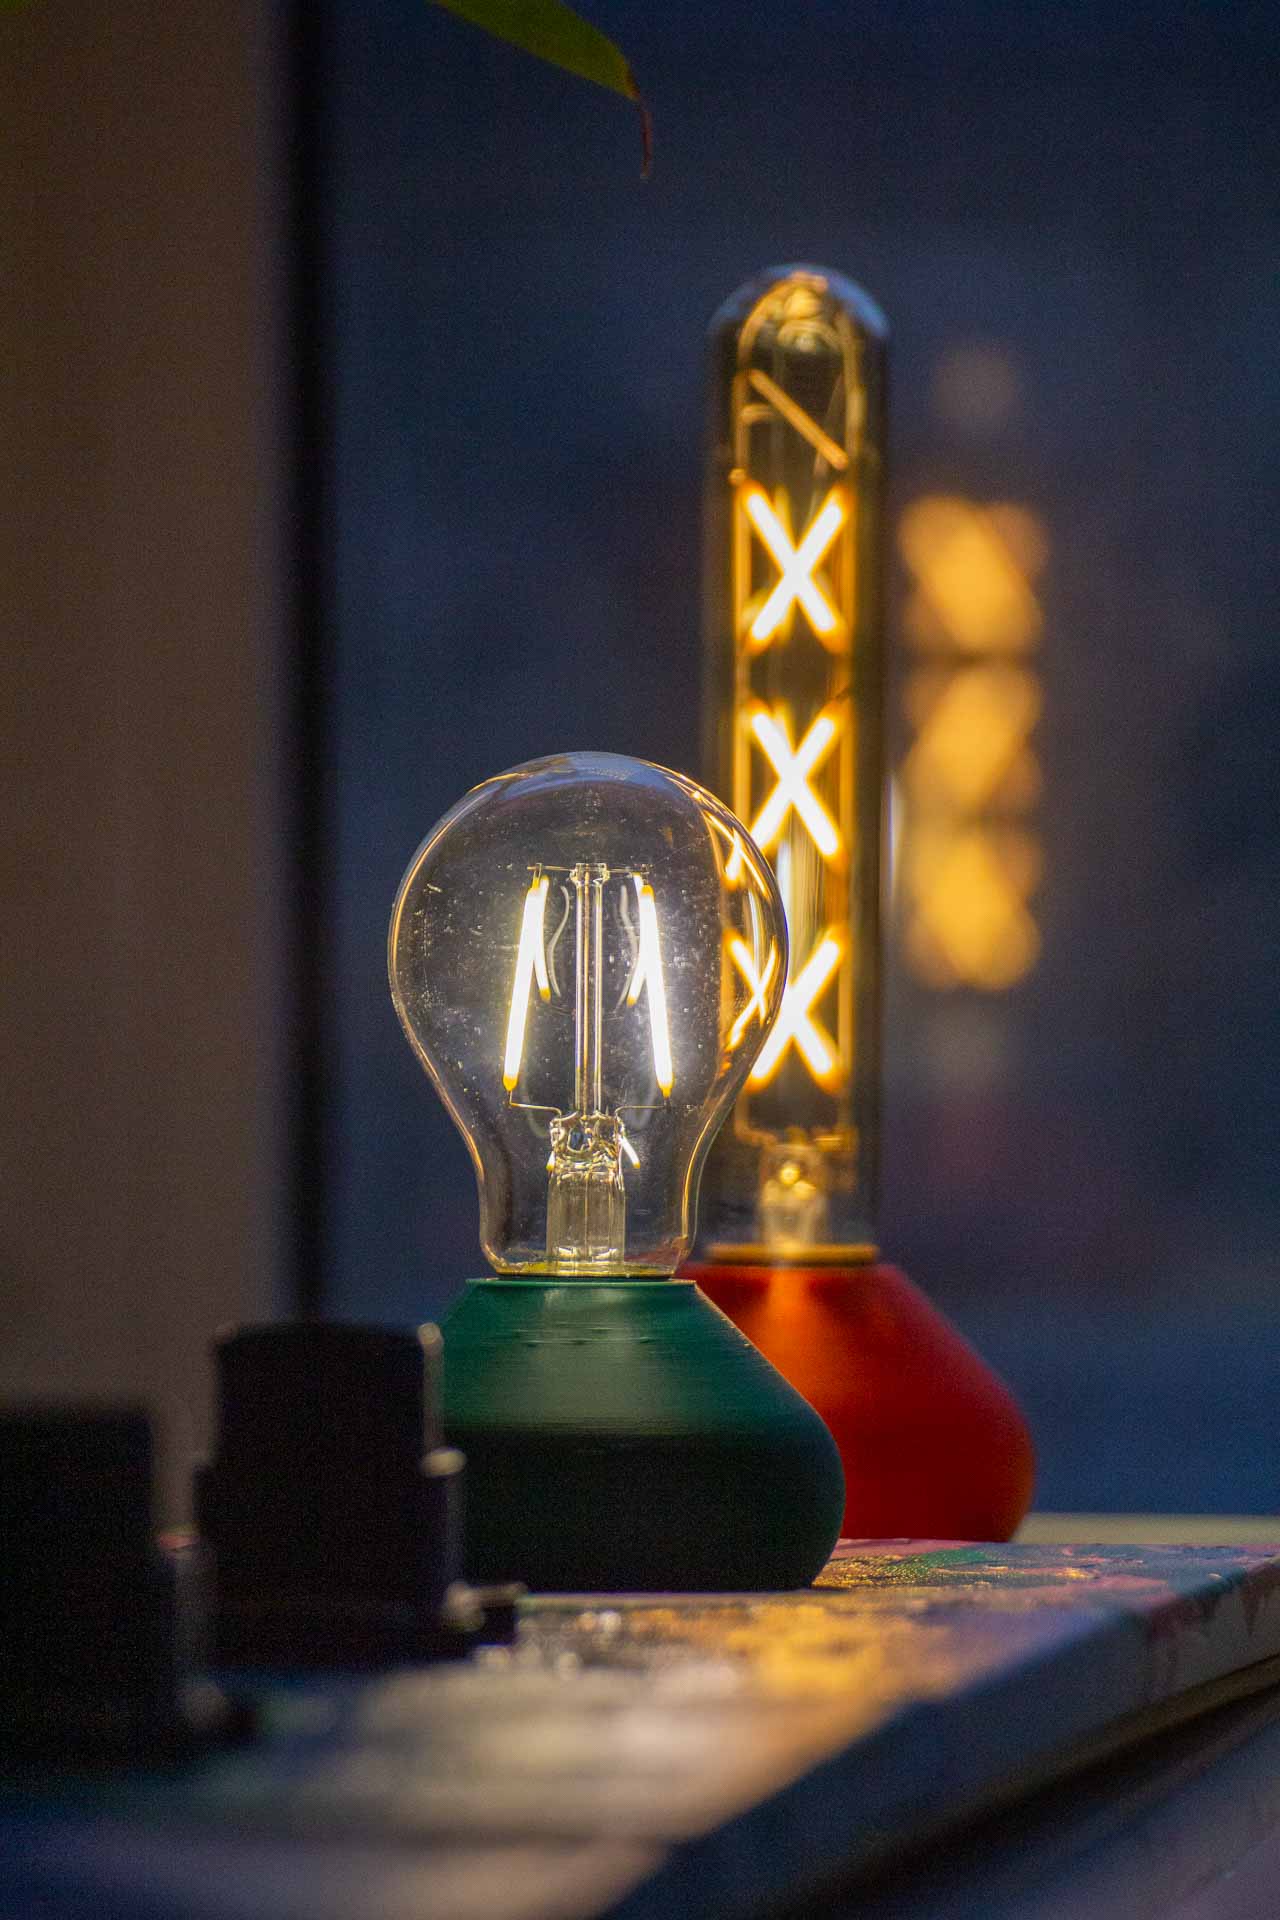
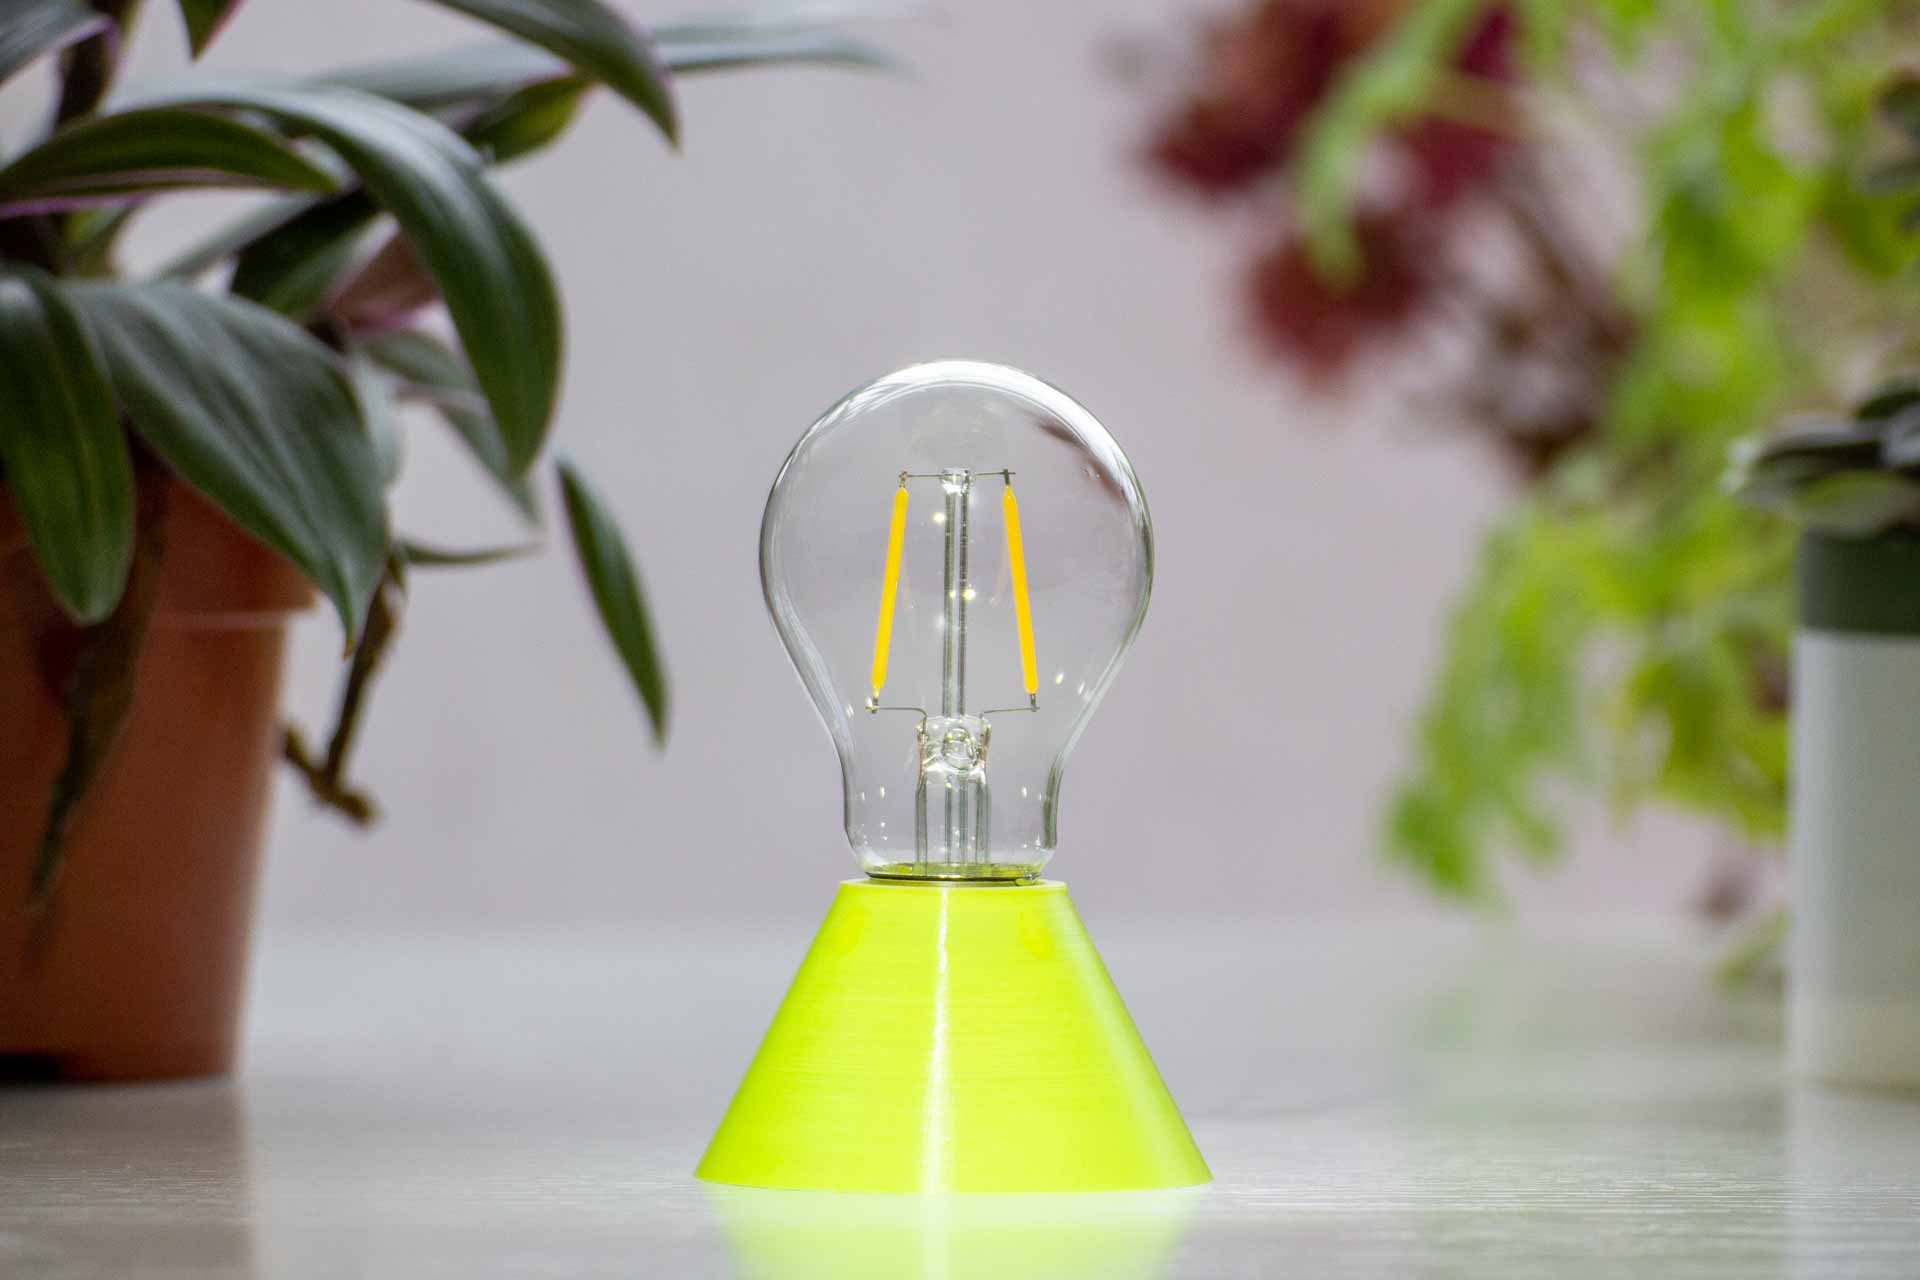
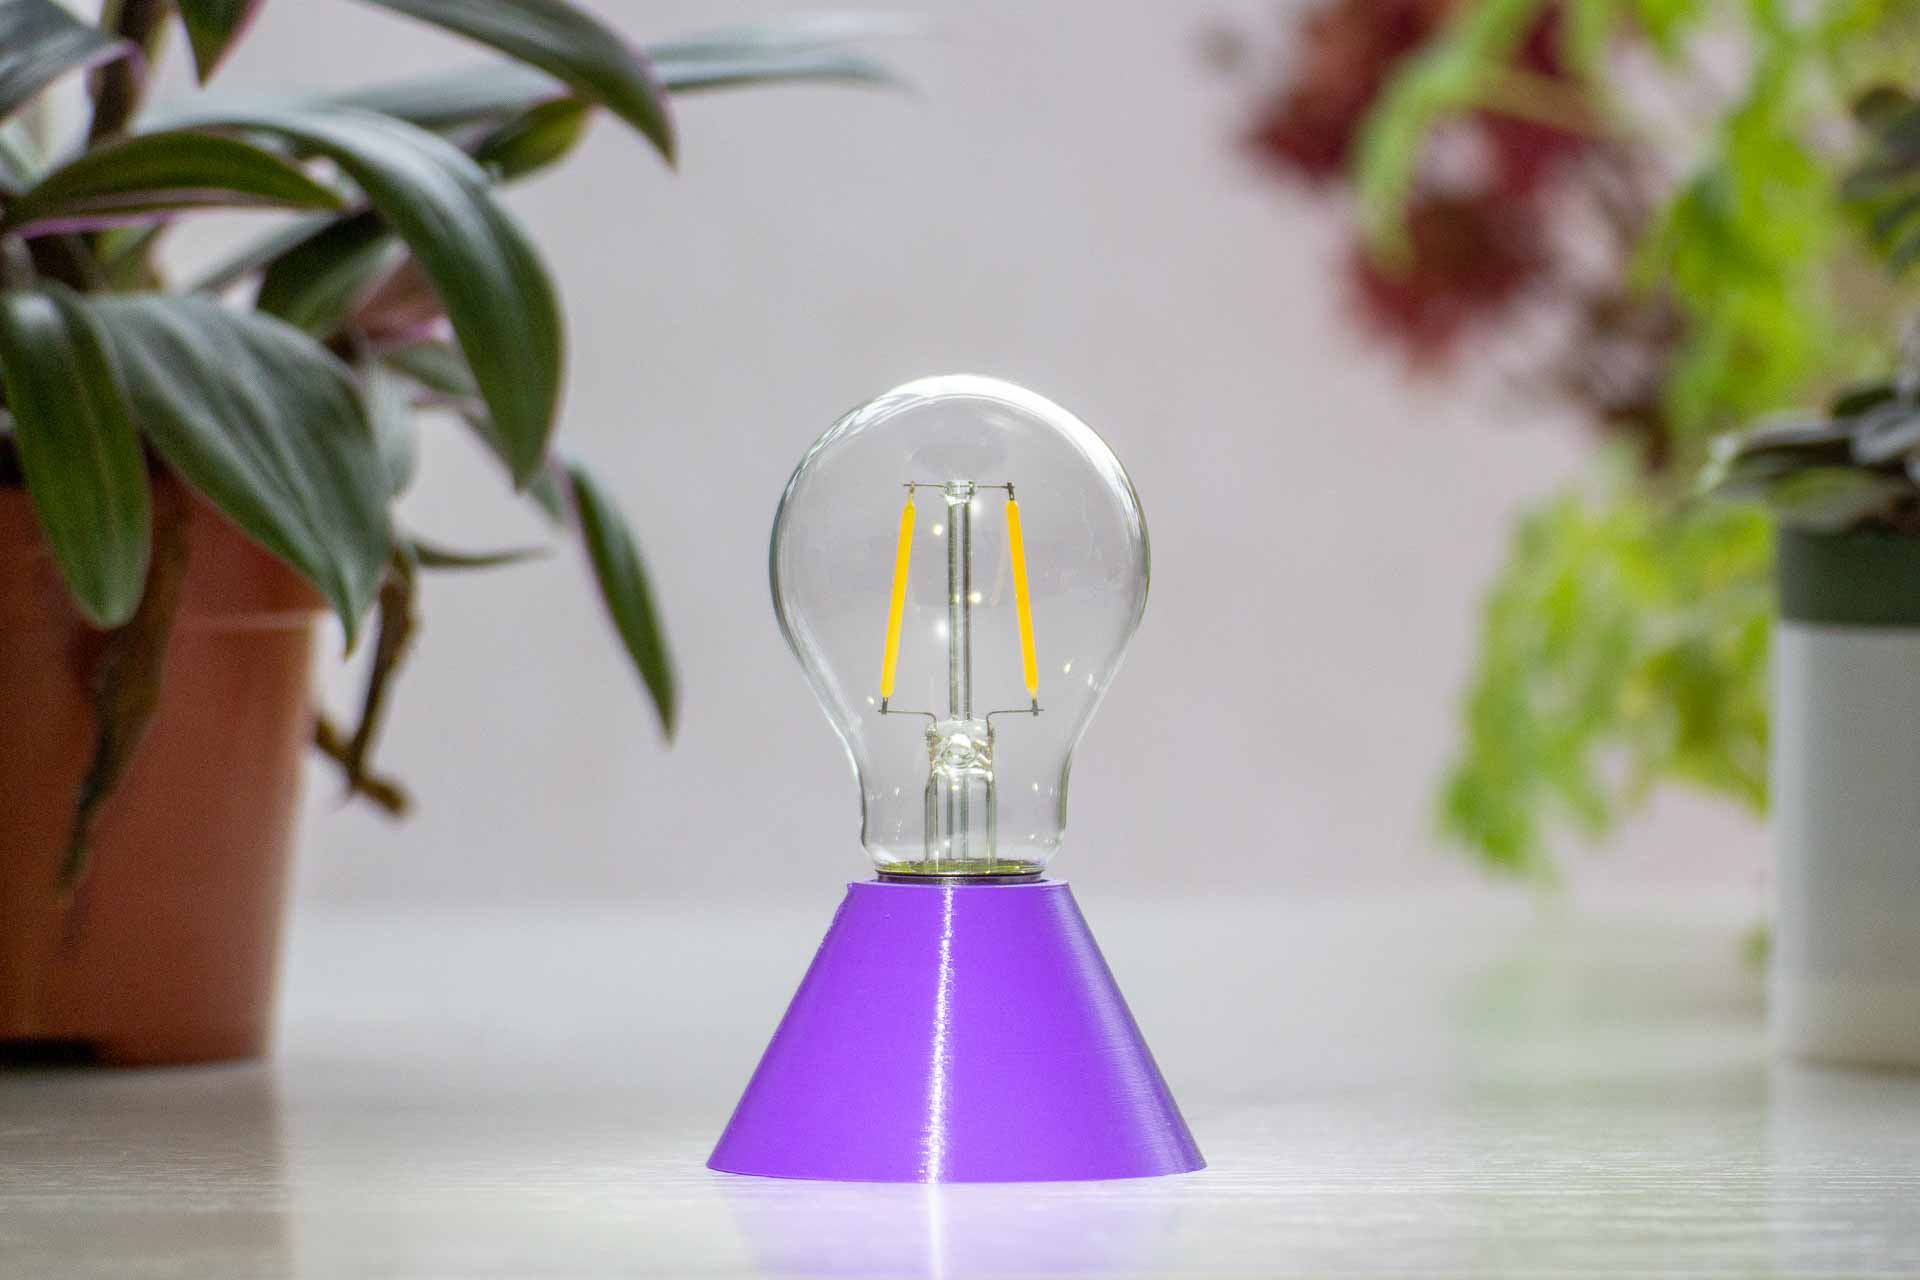
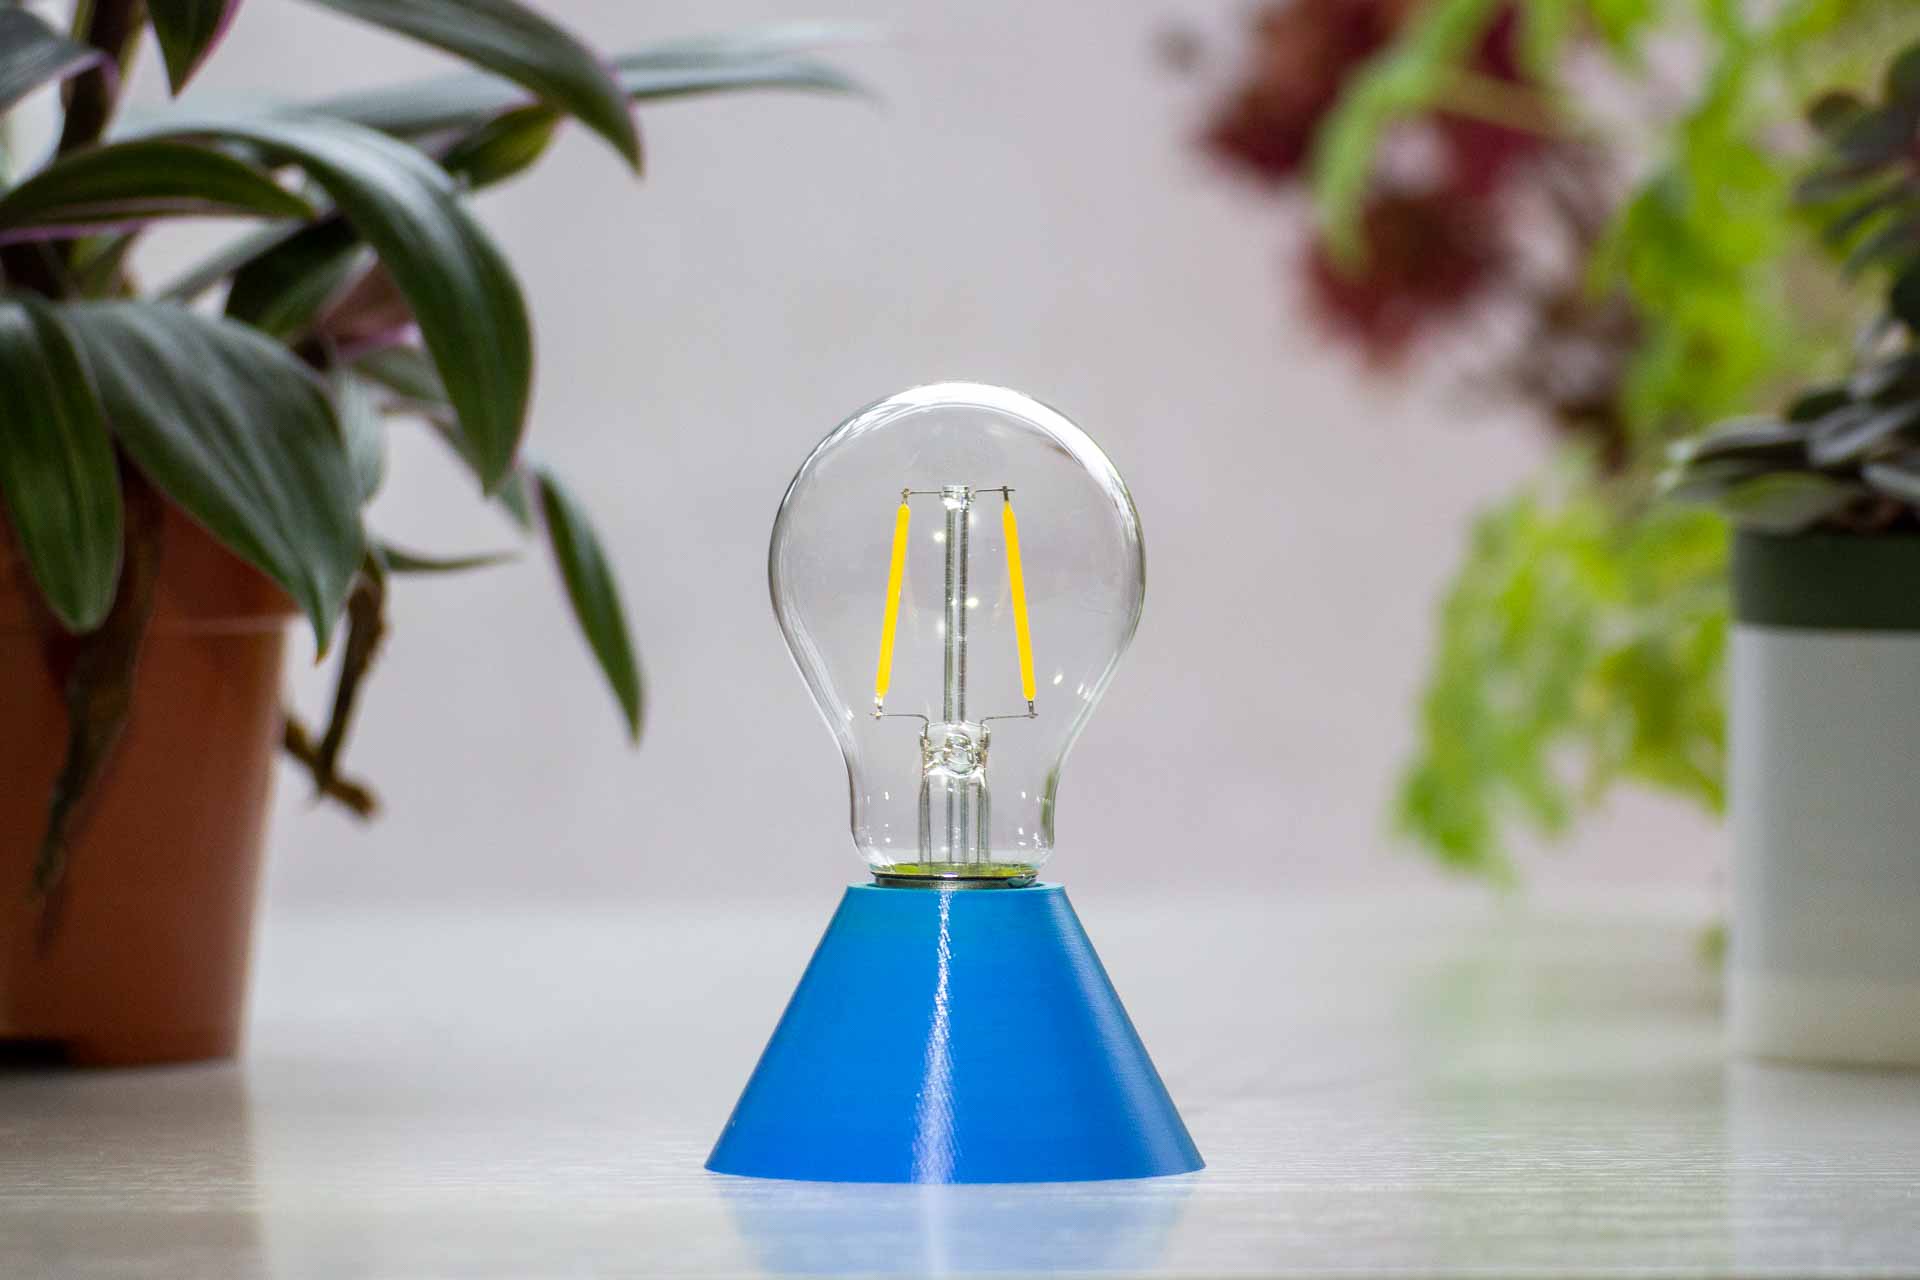
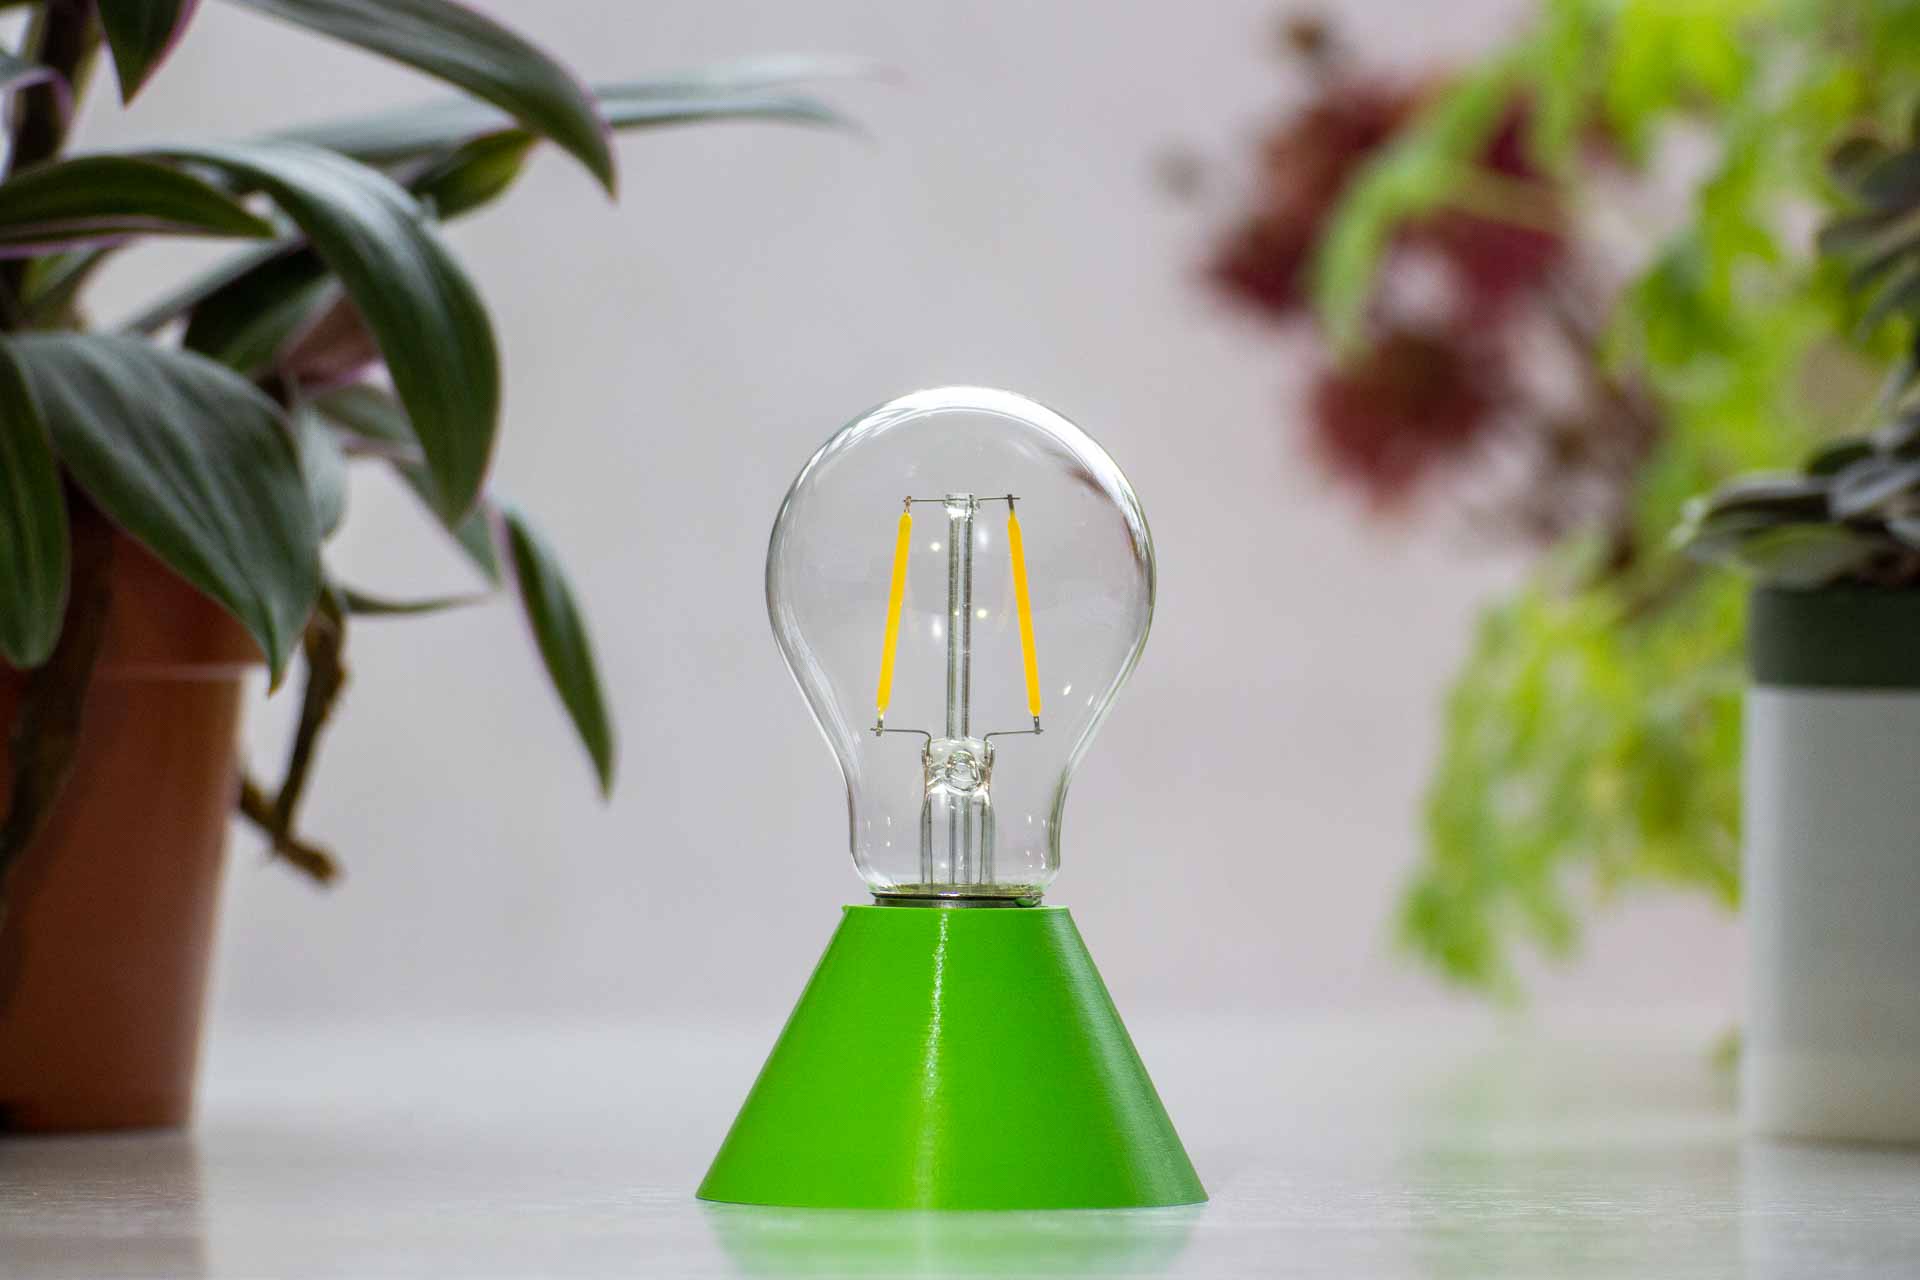
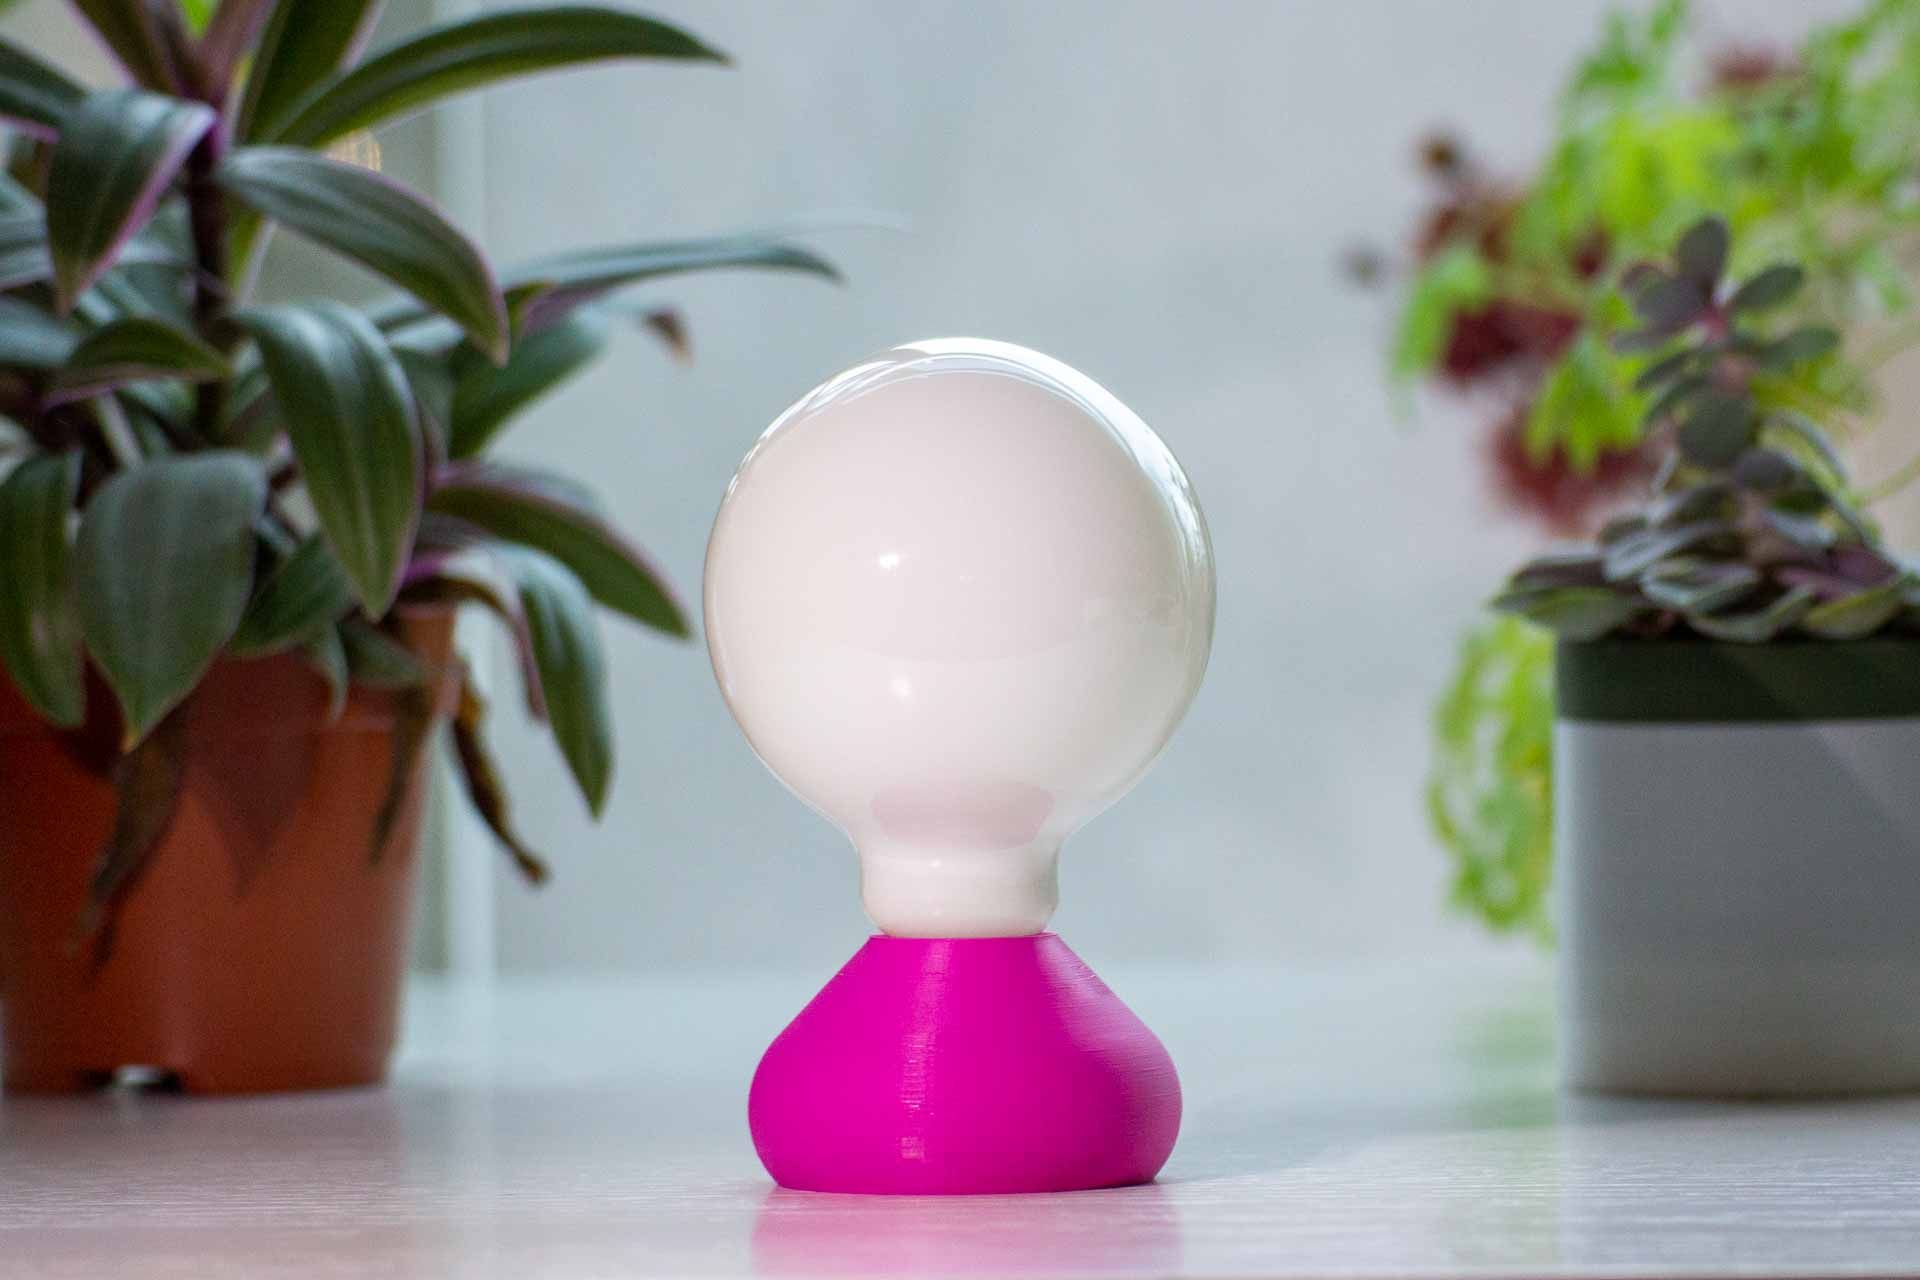
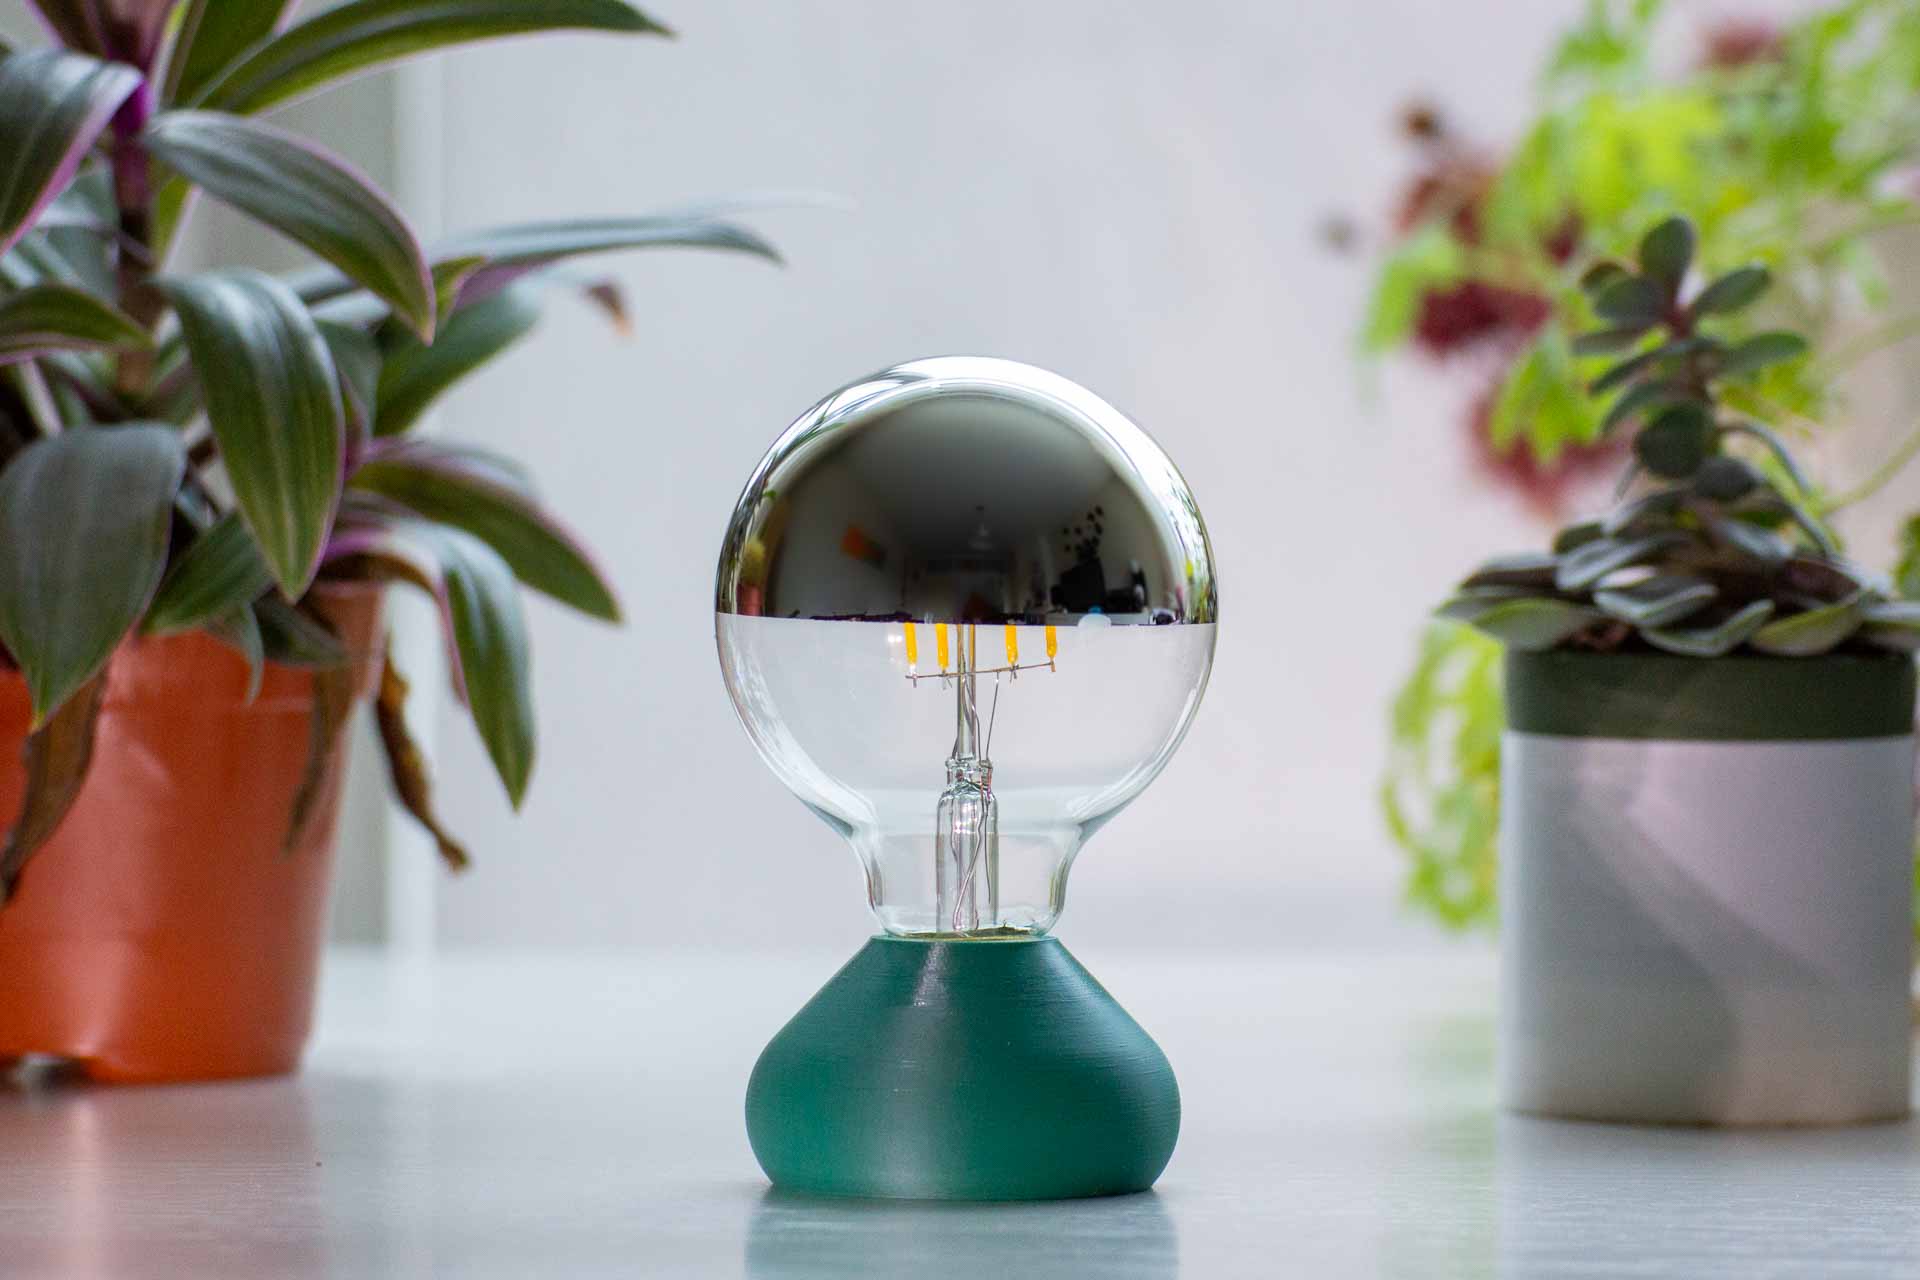
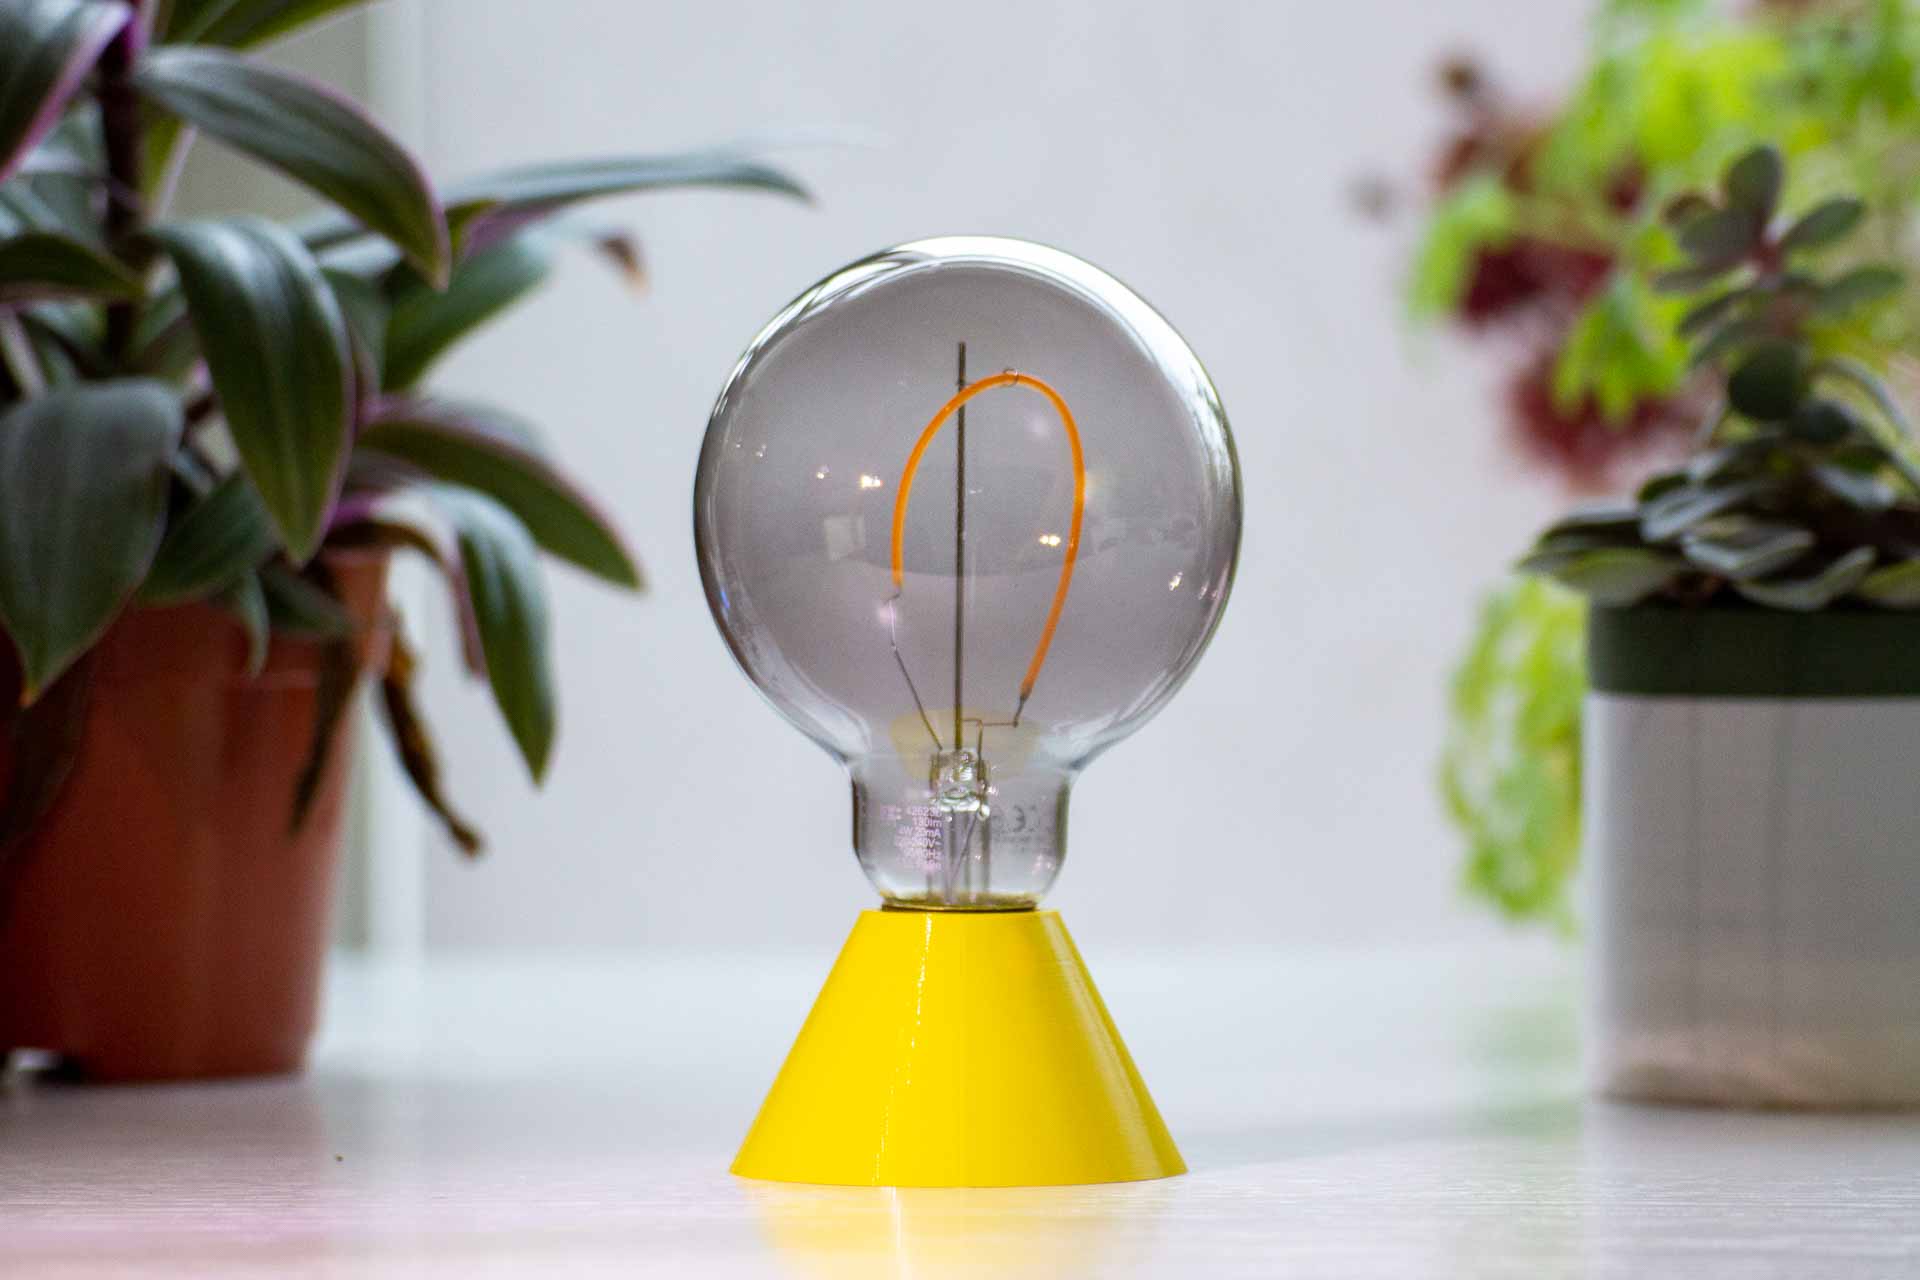
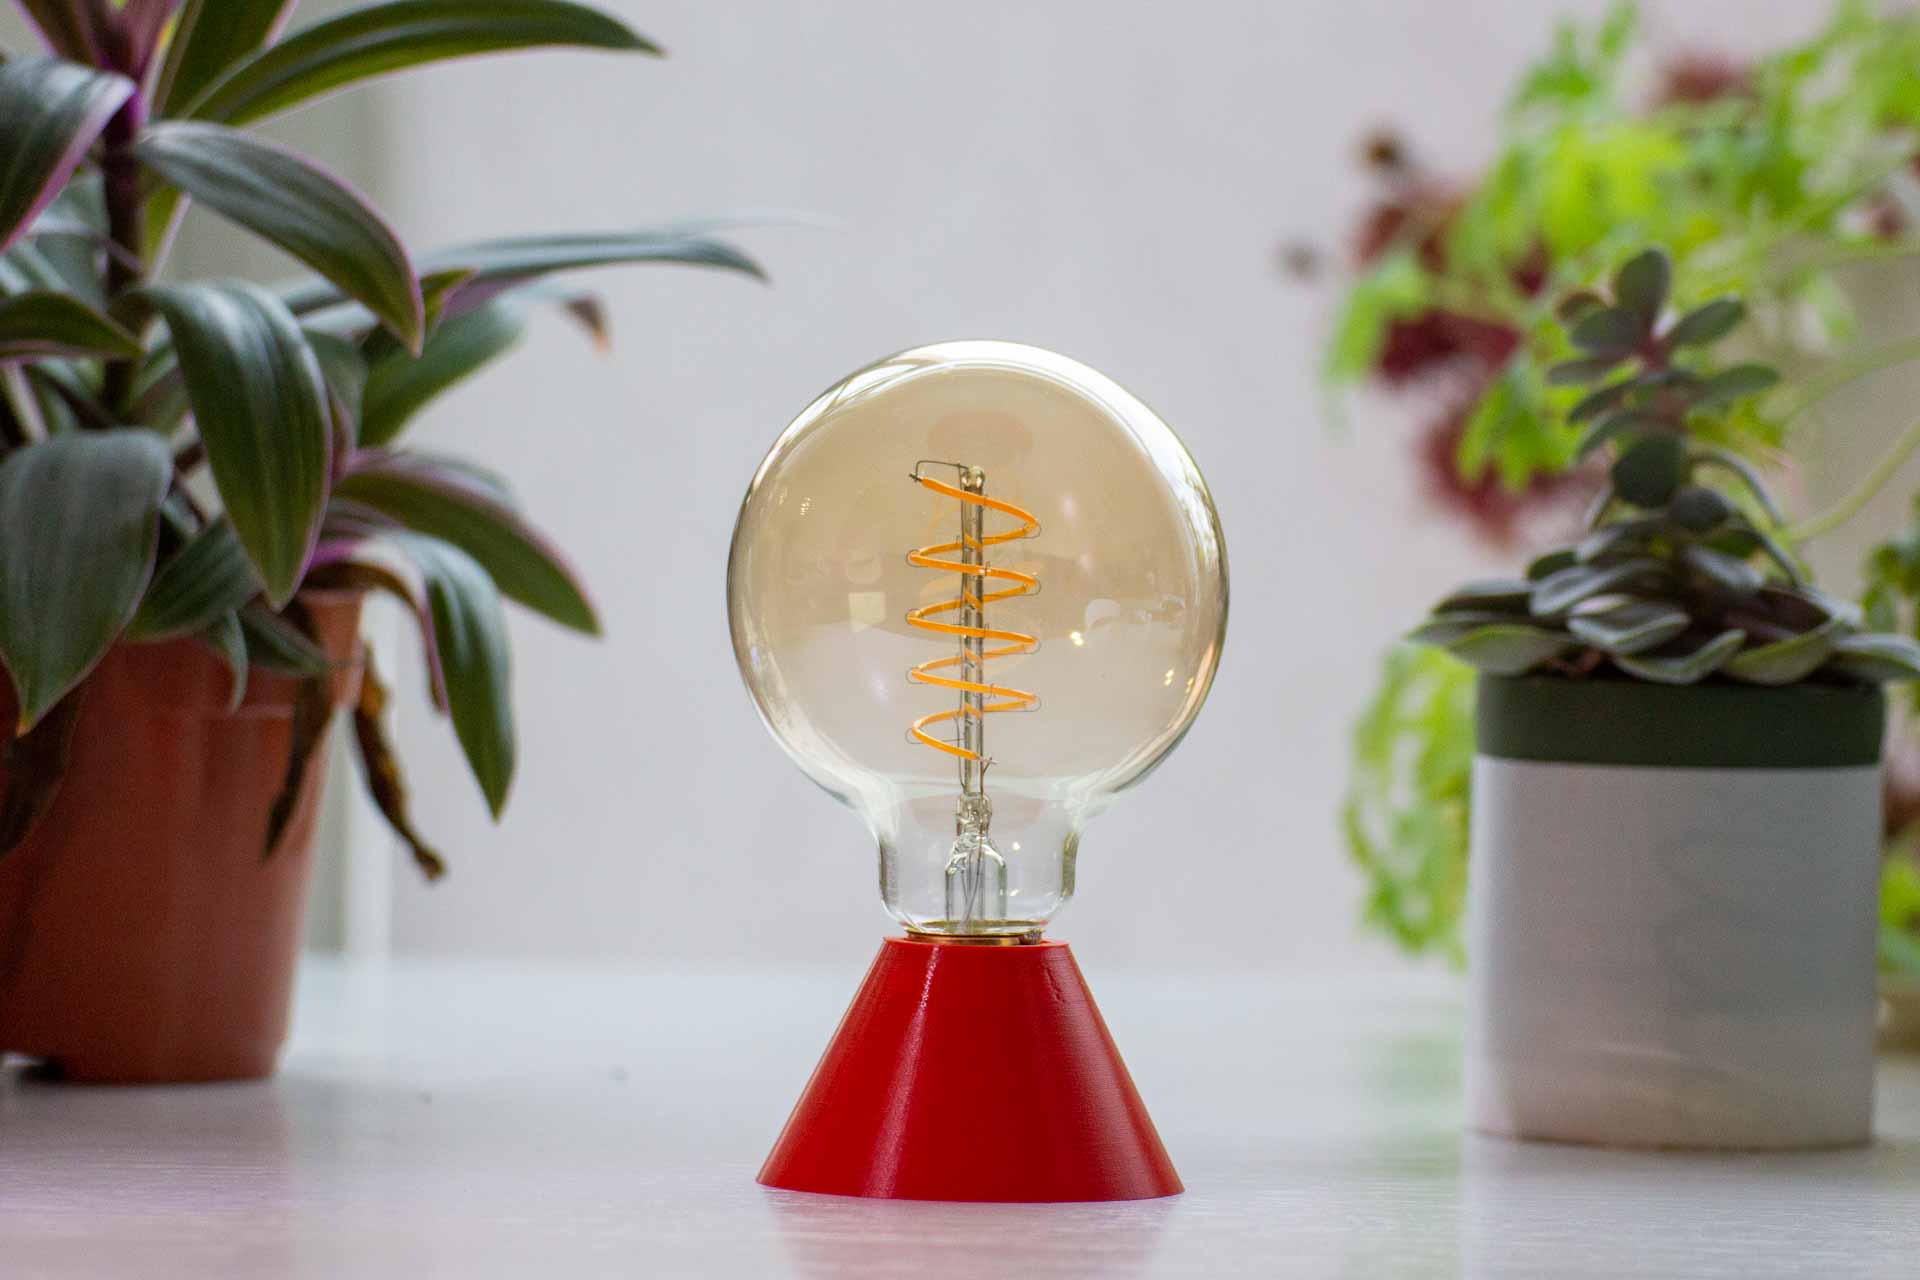
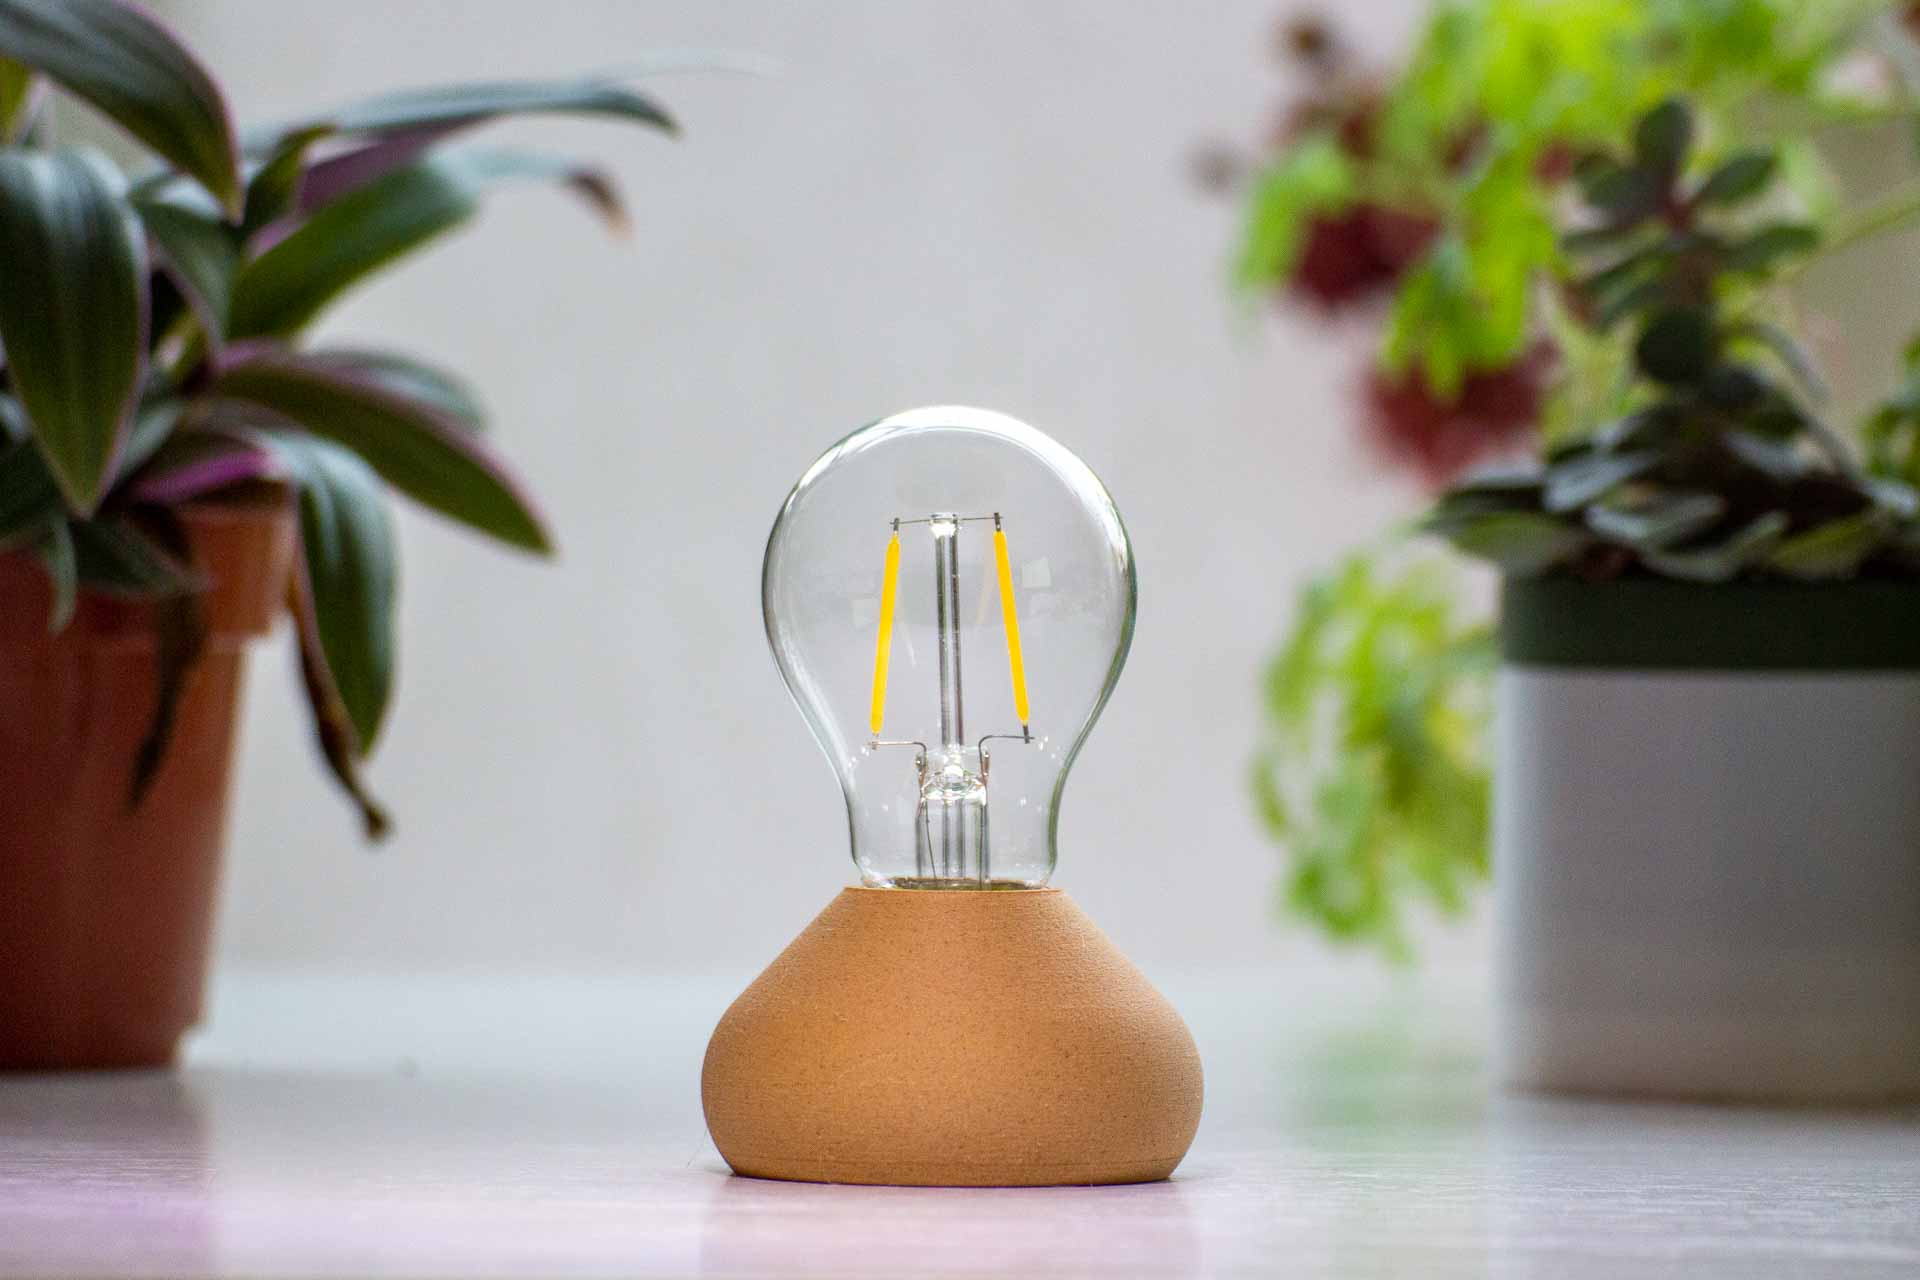
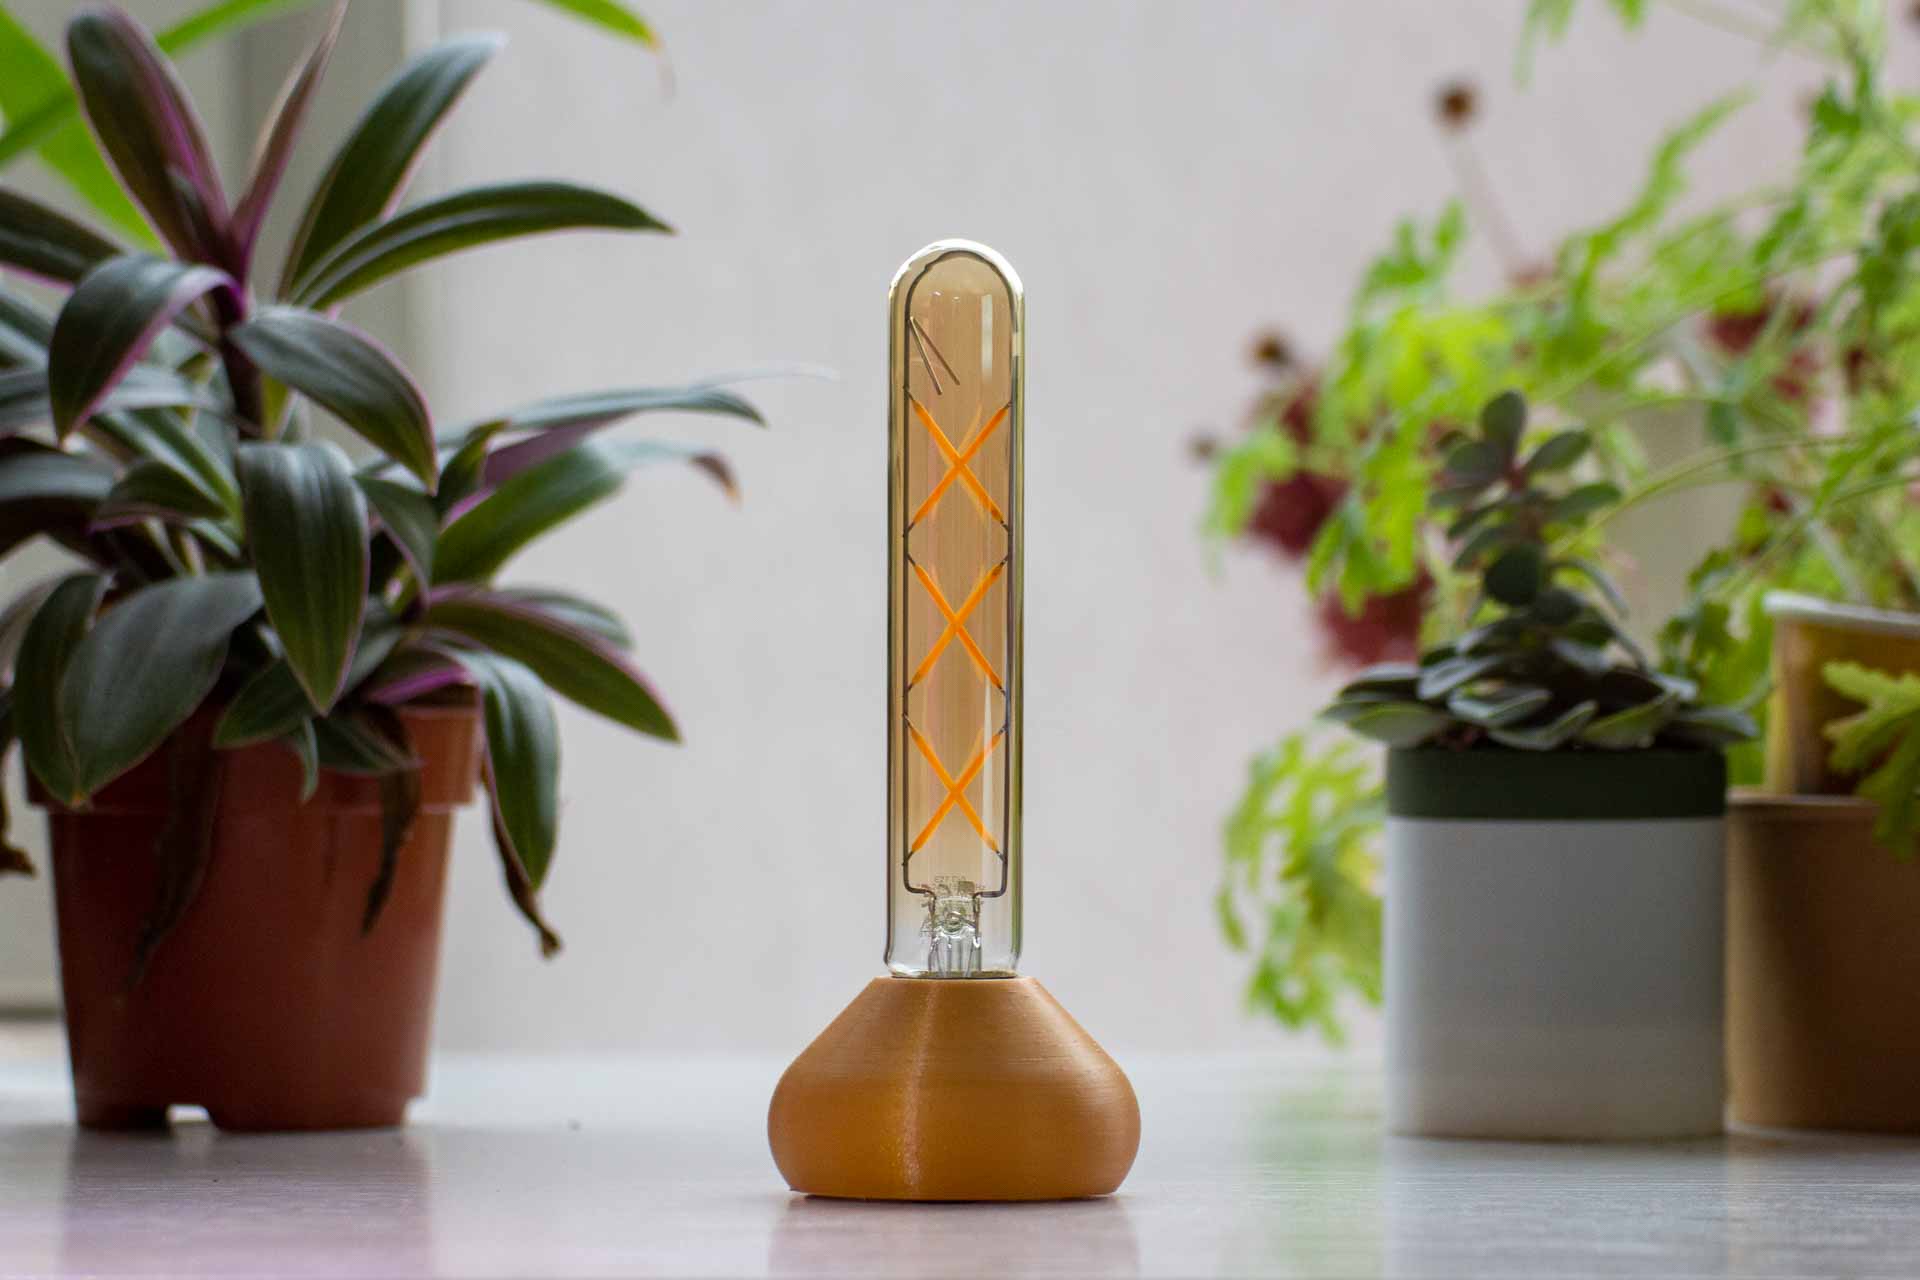
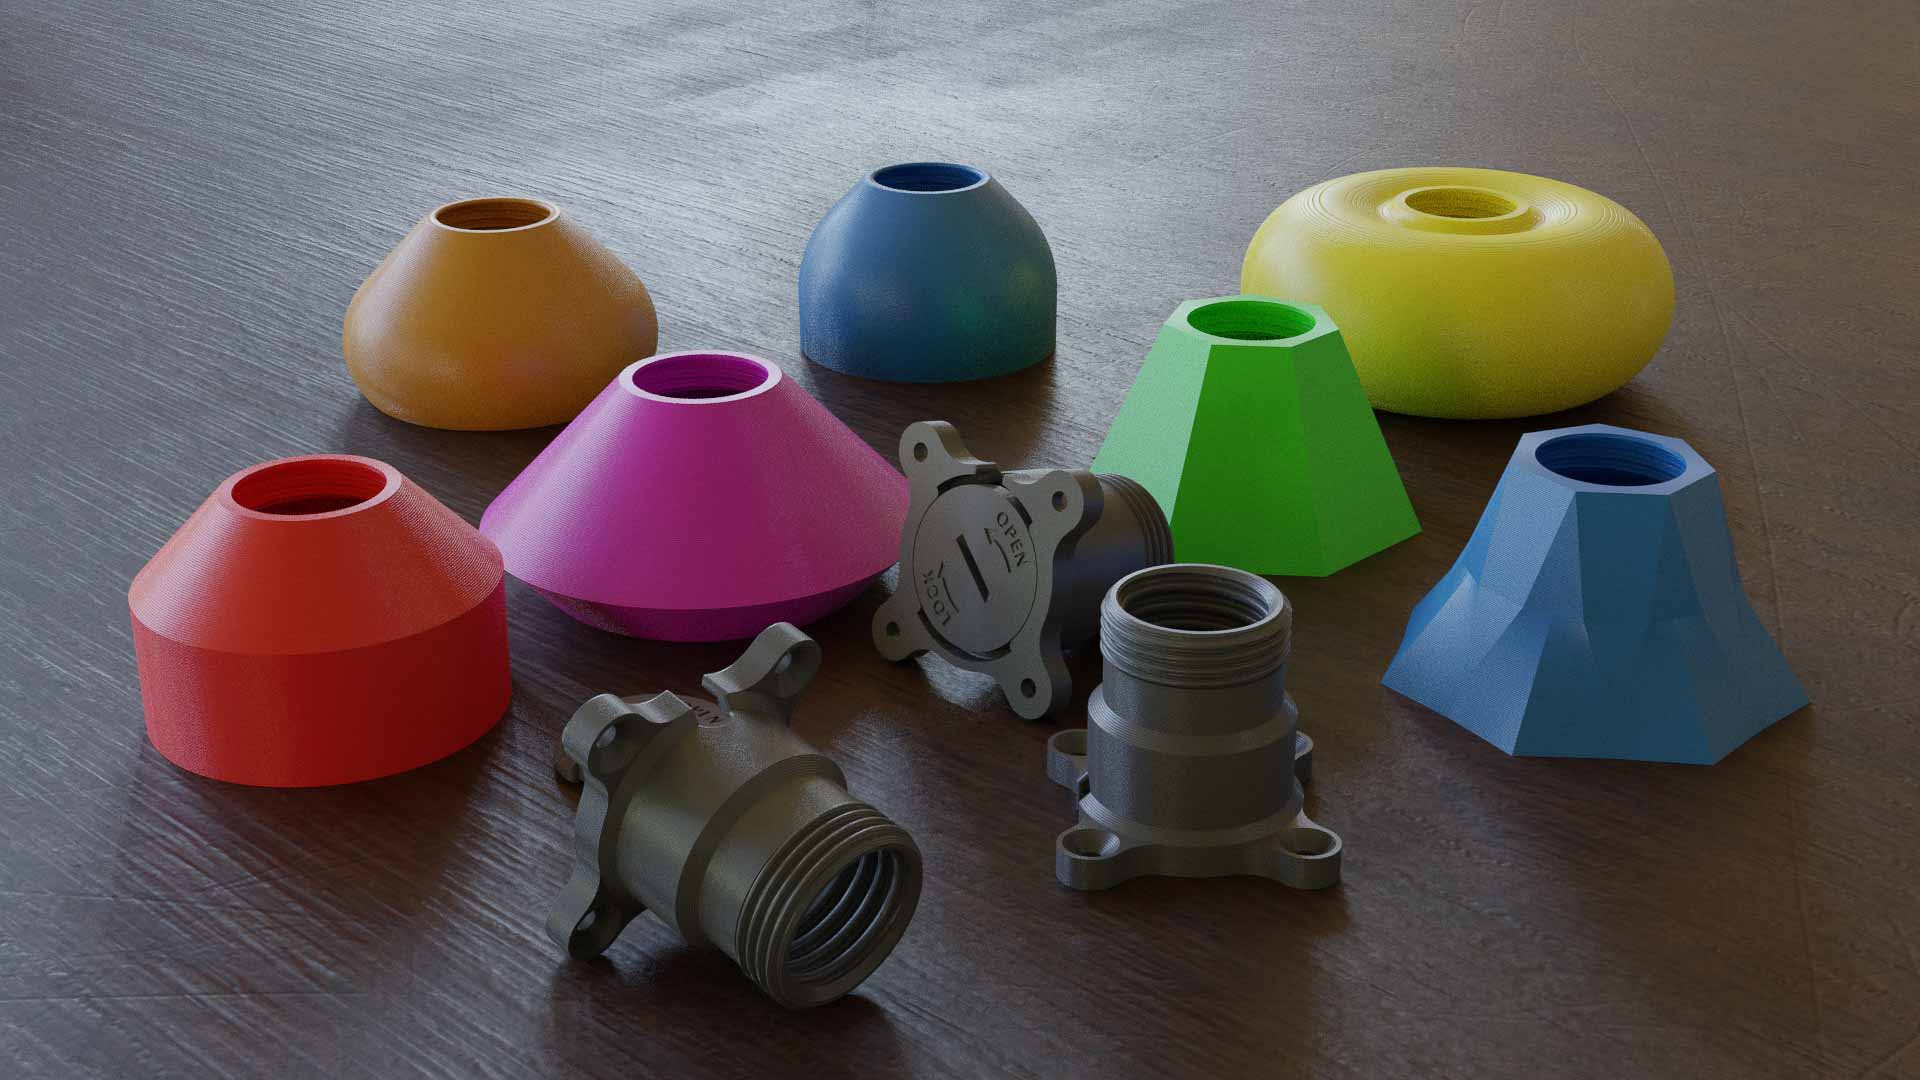
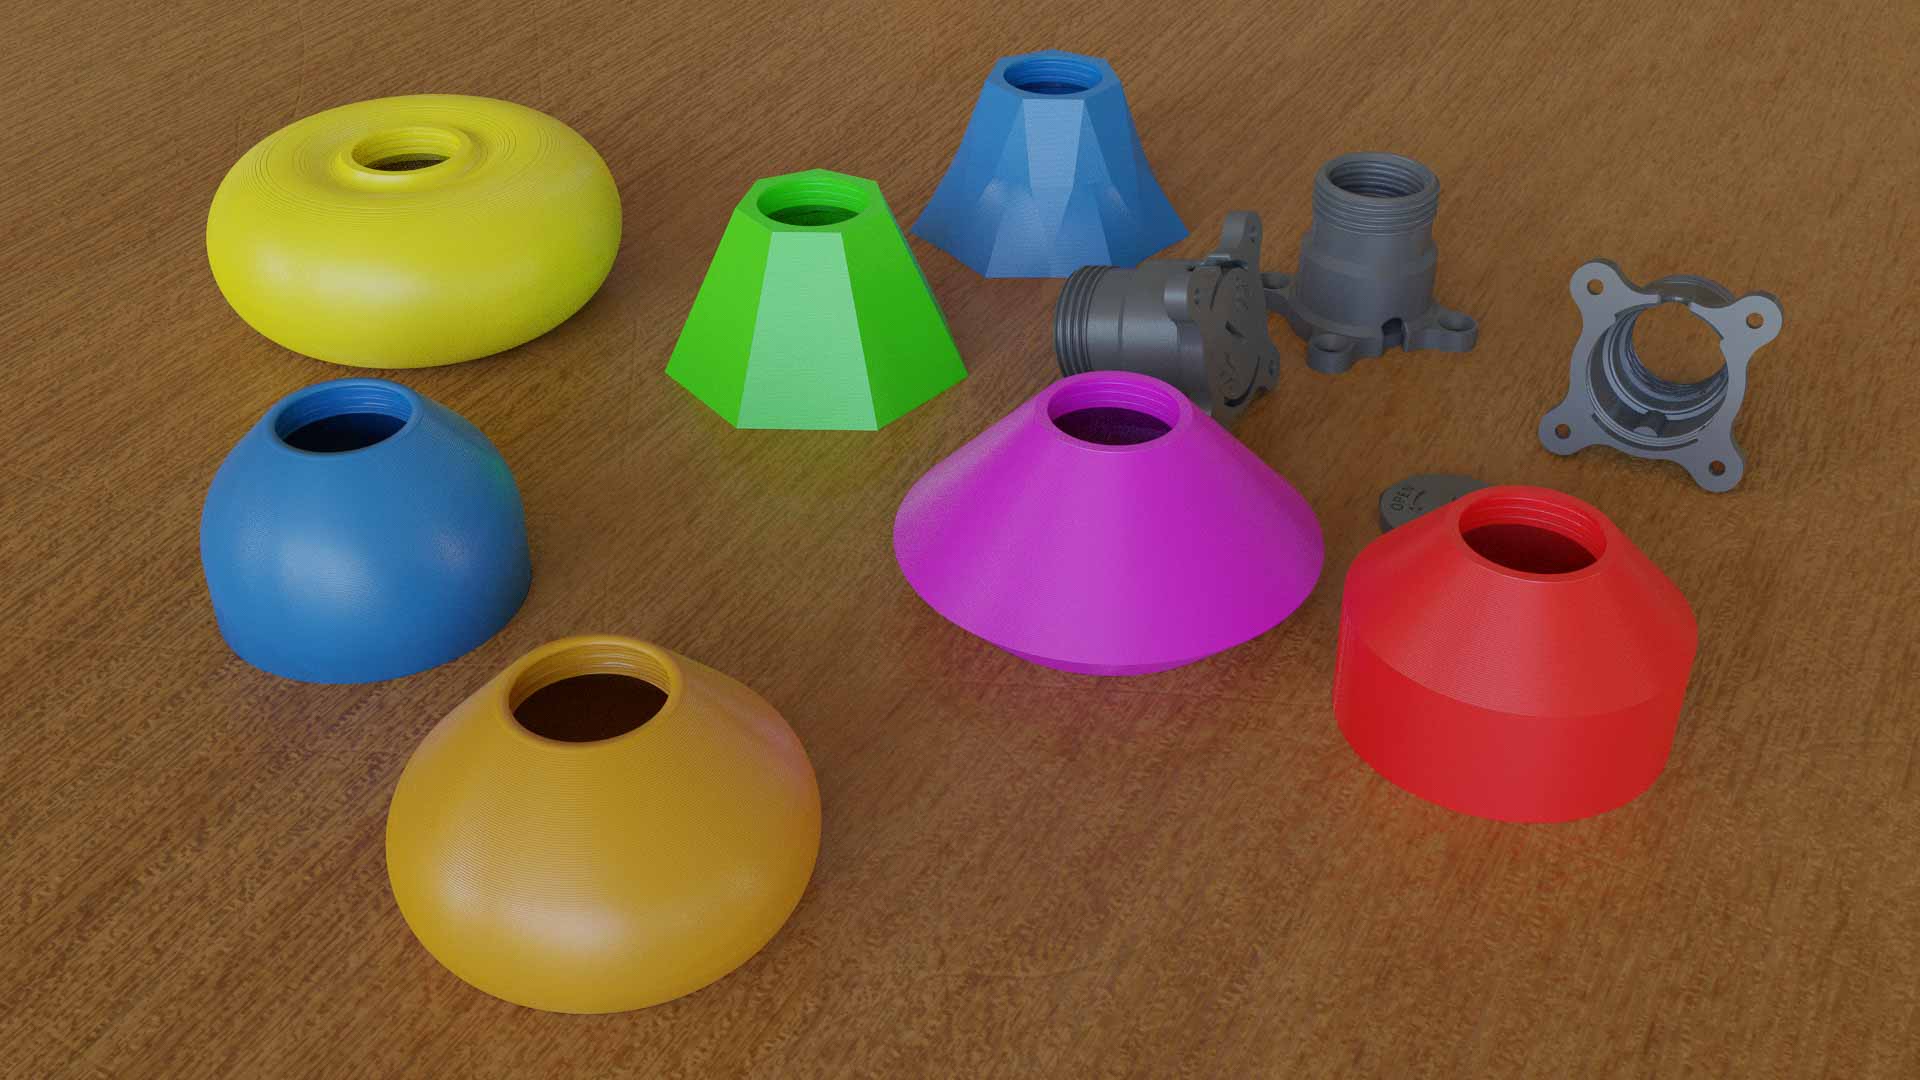
- Cover (your choice of shape and colour)
Works with
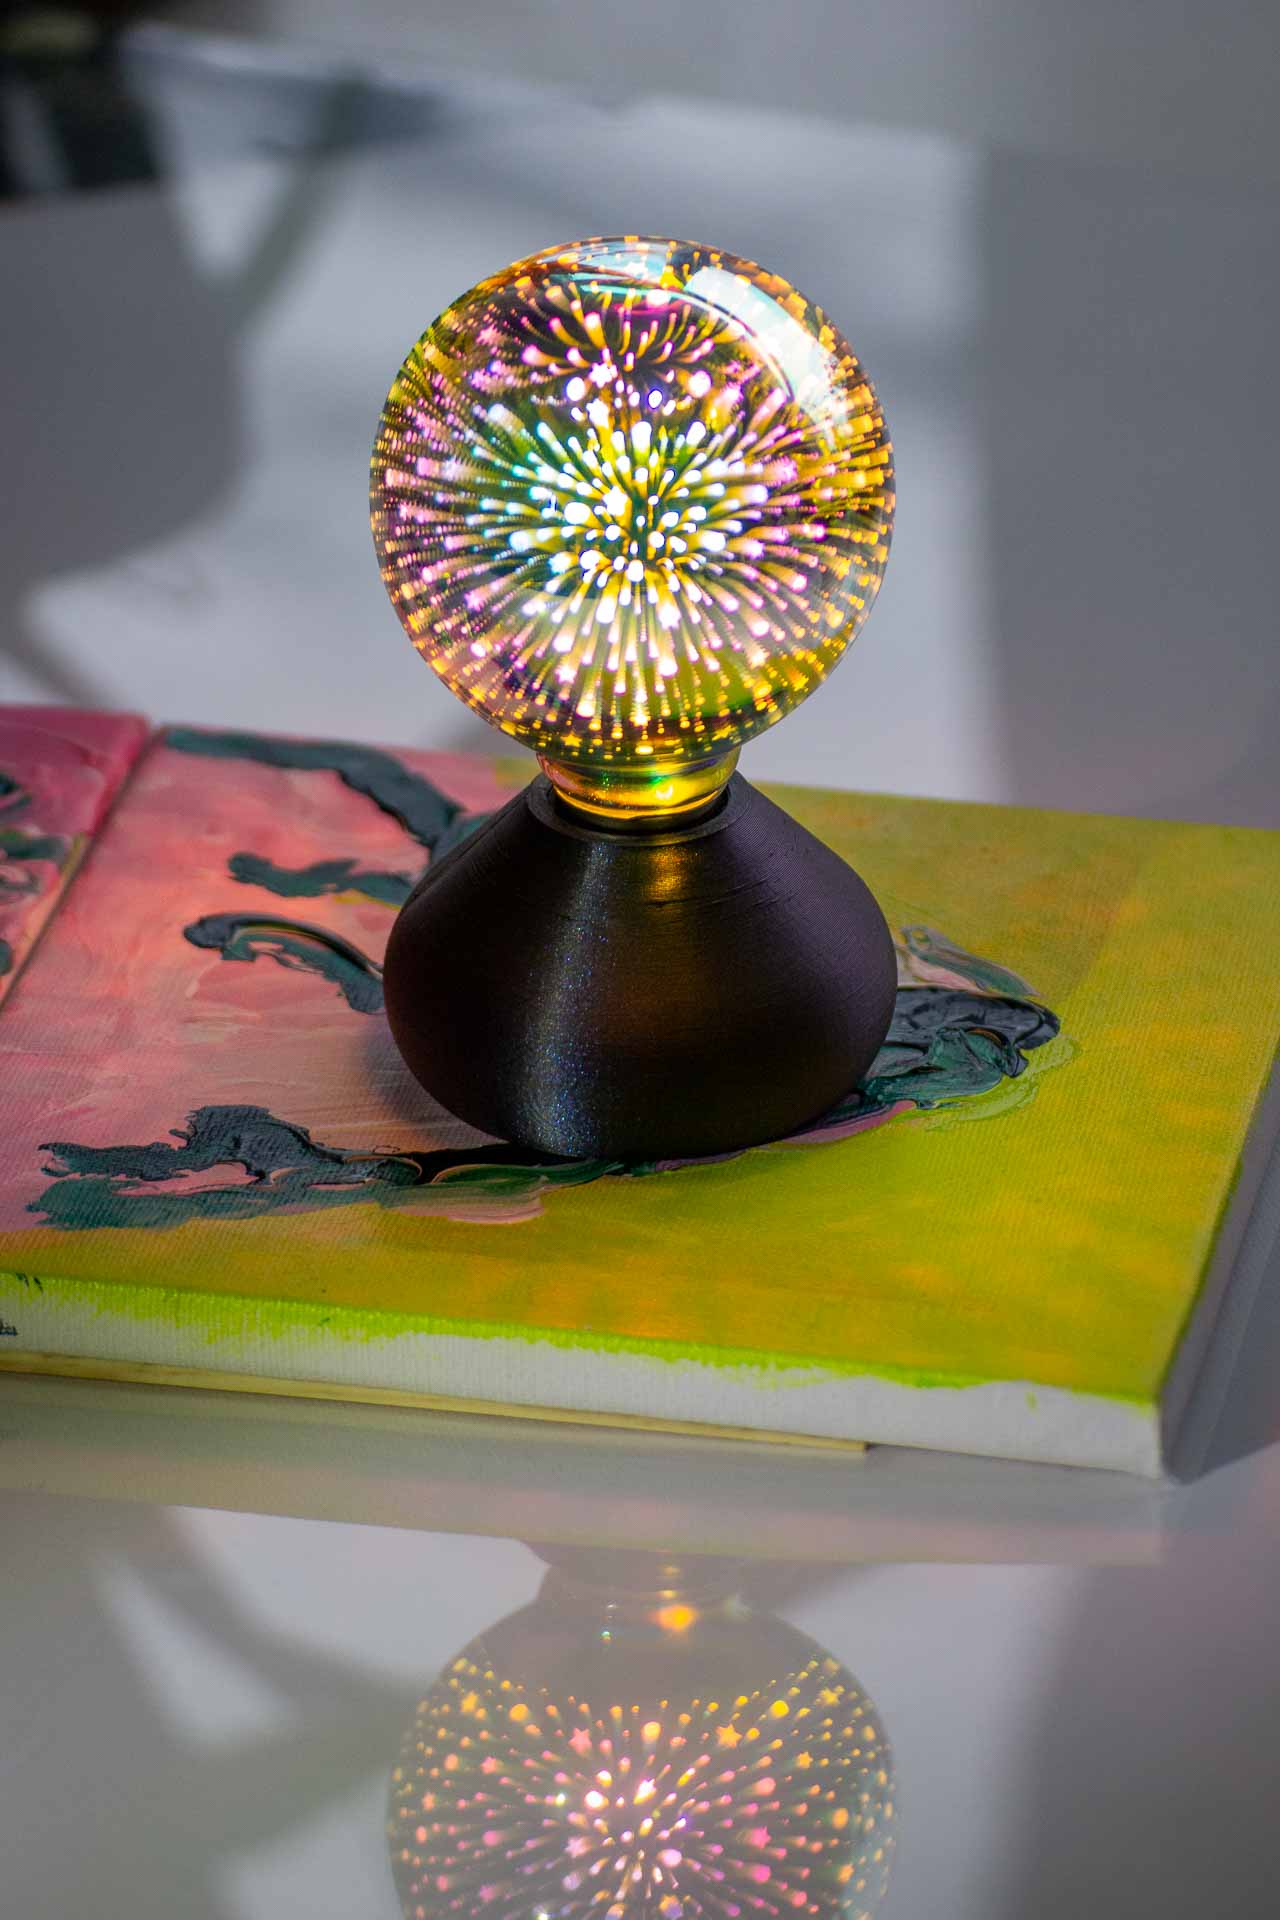
- Any LED bulb
- E27 socket bulb
- Any size bulb
- Up to 60W
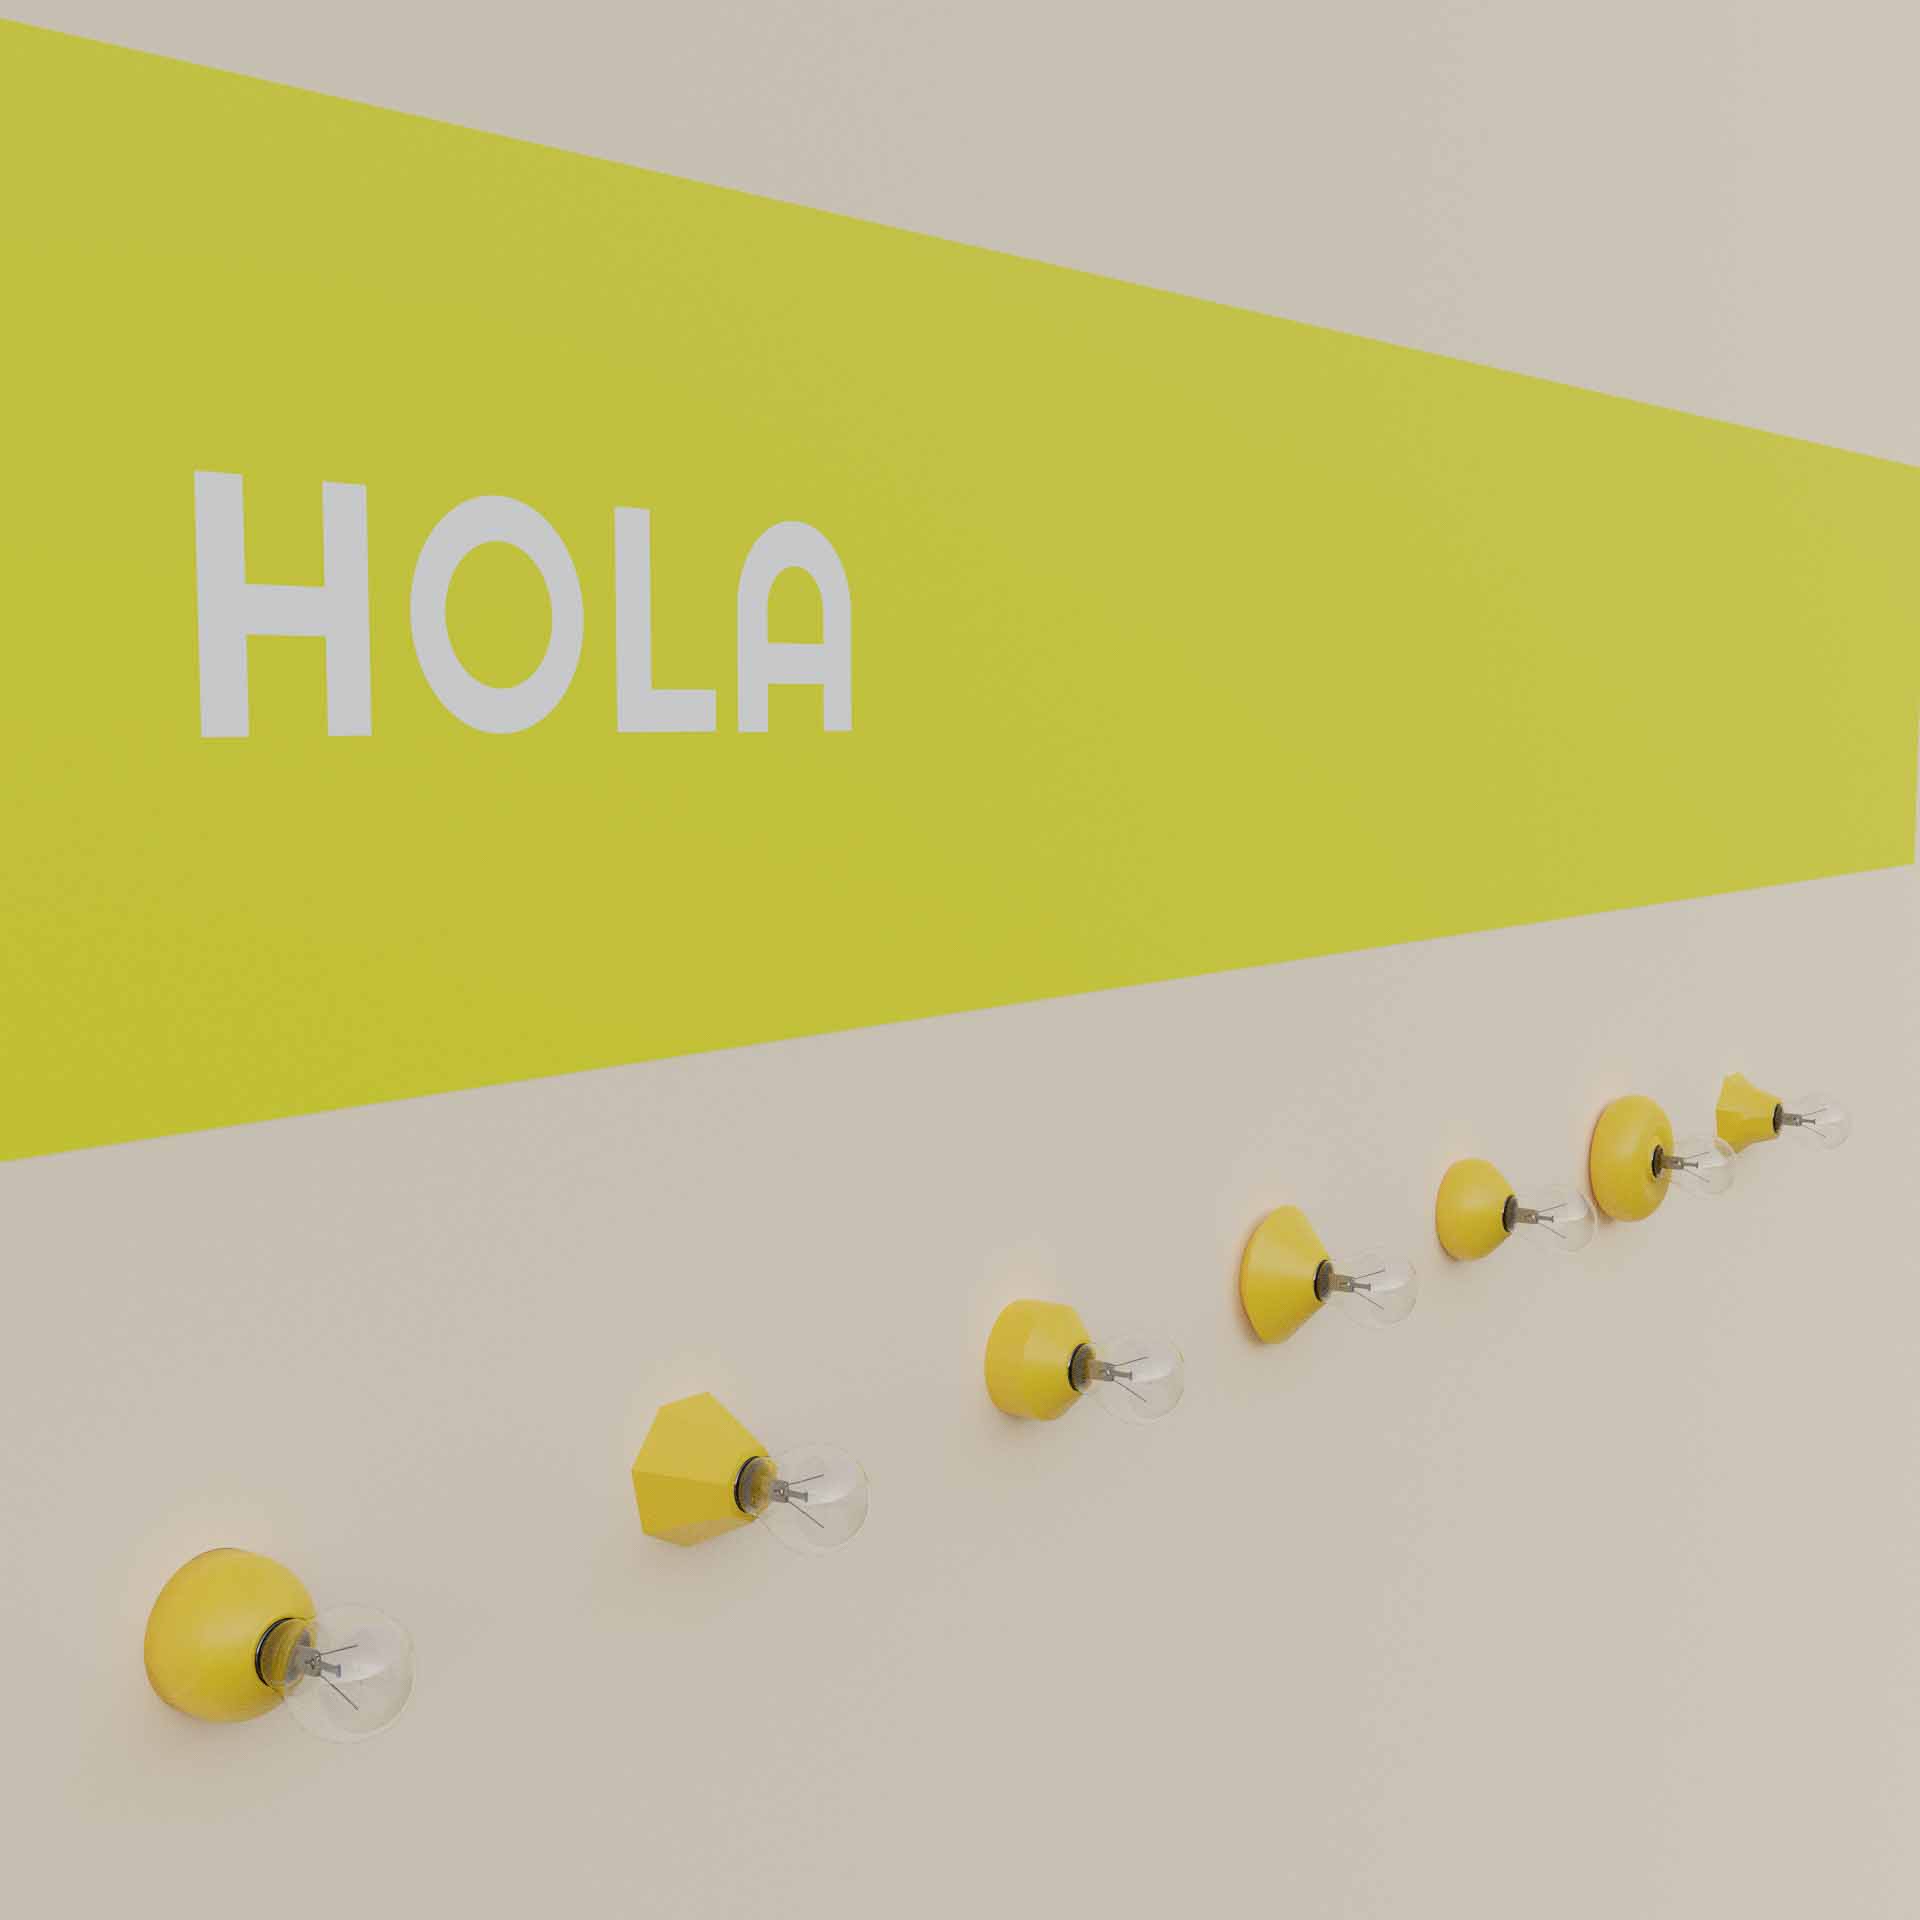
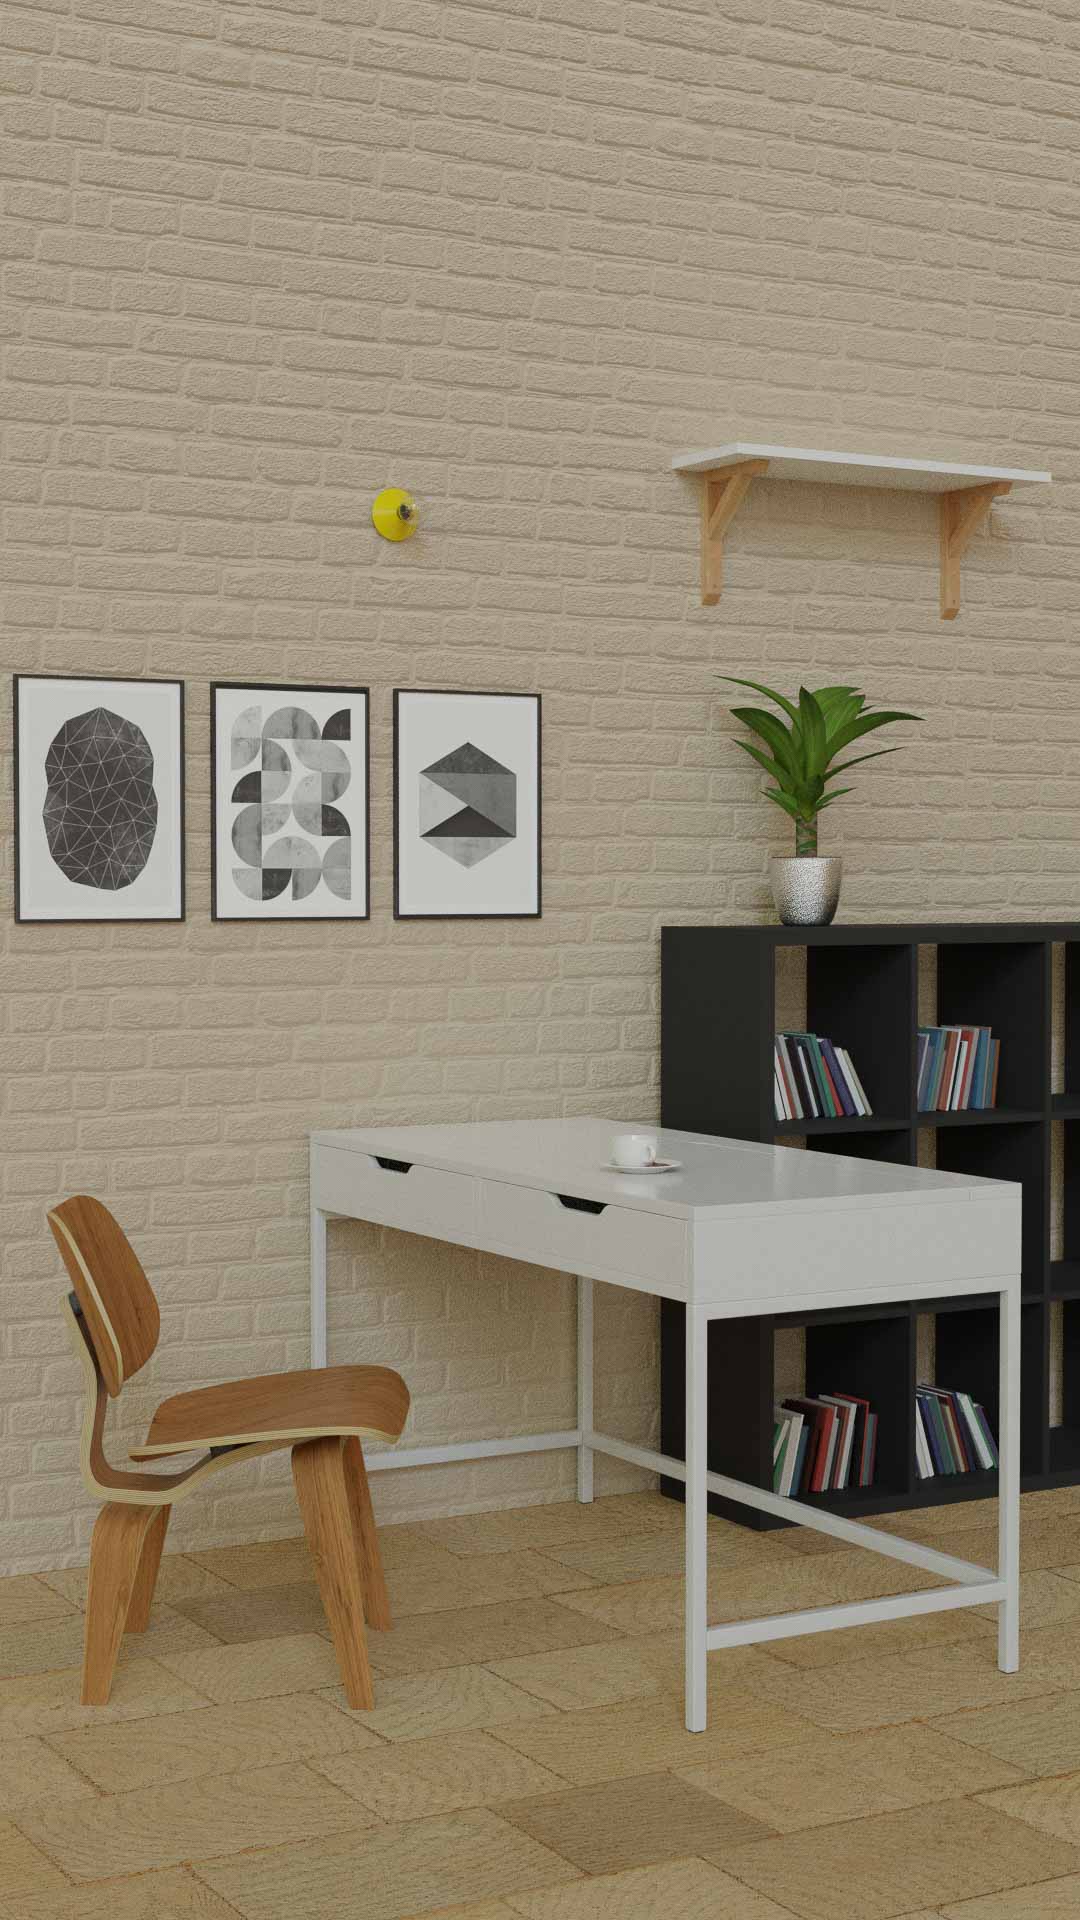
Fit for many places
- Living room
- Bedroom
- Kitchen
- Hallway
- Office


